DIY Boiling Halloween Cauldron
Halloween is right around the corner, and this year I decided I wanted to try and make a cauldron out of the cast iron pot hanging in front of my house. I absolutely love decorating for the holidays. While this year hasn’t been easy on any of us, I wanted to show you how I made an easy and fun boiling Halloween cauldron!
Supply List:
- Cauldron
- Some type of tray or bowl that will fit your cauldron
- The Great Stuff
- Orange string lights (100 - 200 count)
- Black spray paint
- Red spray paint
- Mist maker / fogger
Optional Supplies:
Step One: Choose a Cauldron
My first step was to find a bowl or a tray that was the same diameter as my pot. This is what will hold the water. I usually plant flowers in this pot, so it’s full of dirt which gives the tray plenty of support. I went to my local hardware store and found exactly what I was looking for. I used hot water heater pan.
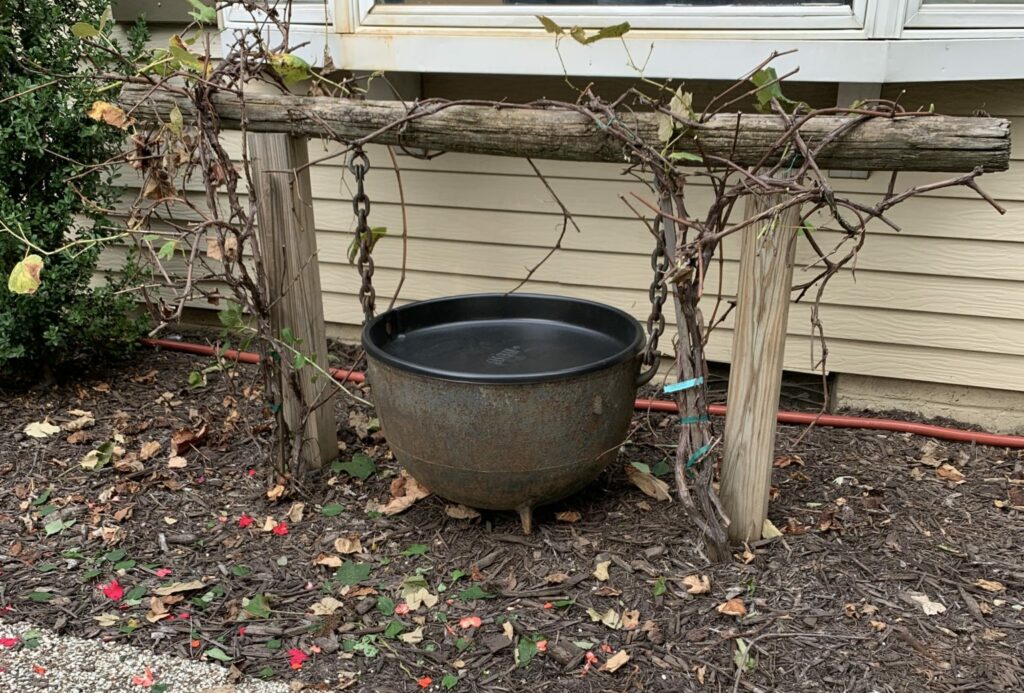
I realize most people probably don’t have a cast iron pot that size just laying around the house, so I found a few options for you below. For reference, my pot is 24″ in diameter.
Step 2: Make the Smoldering Fire
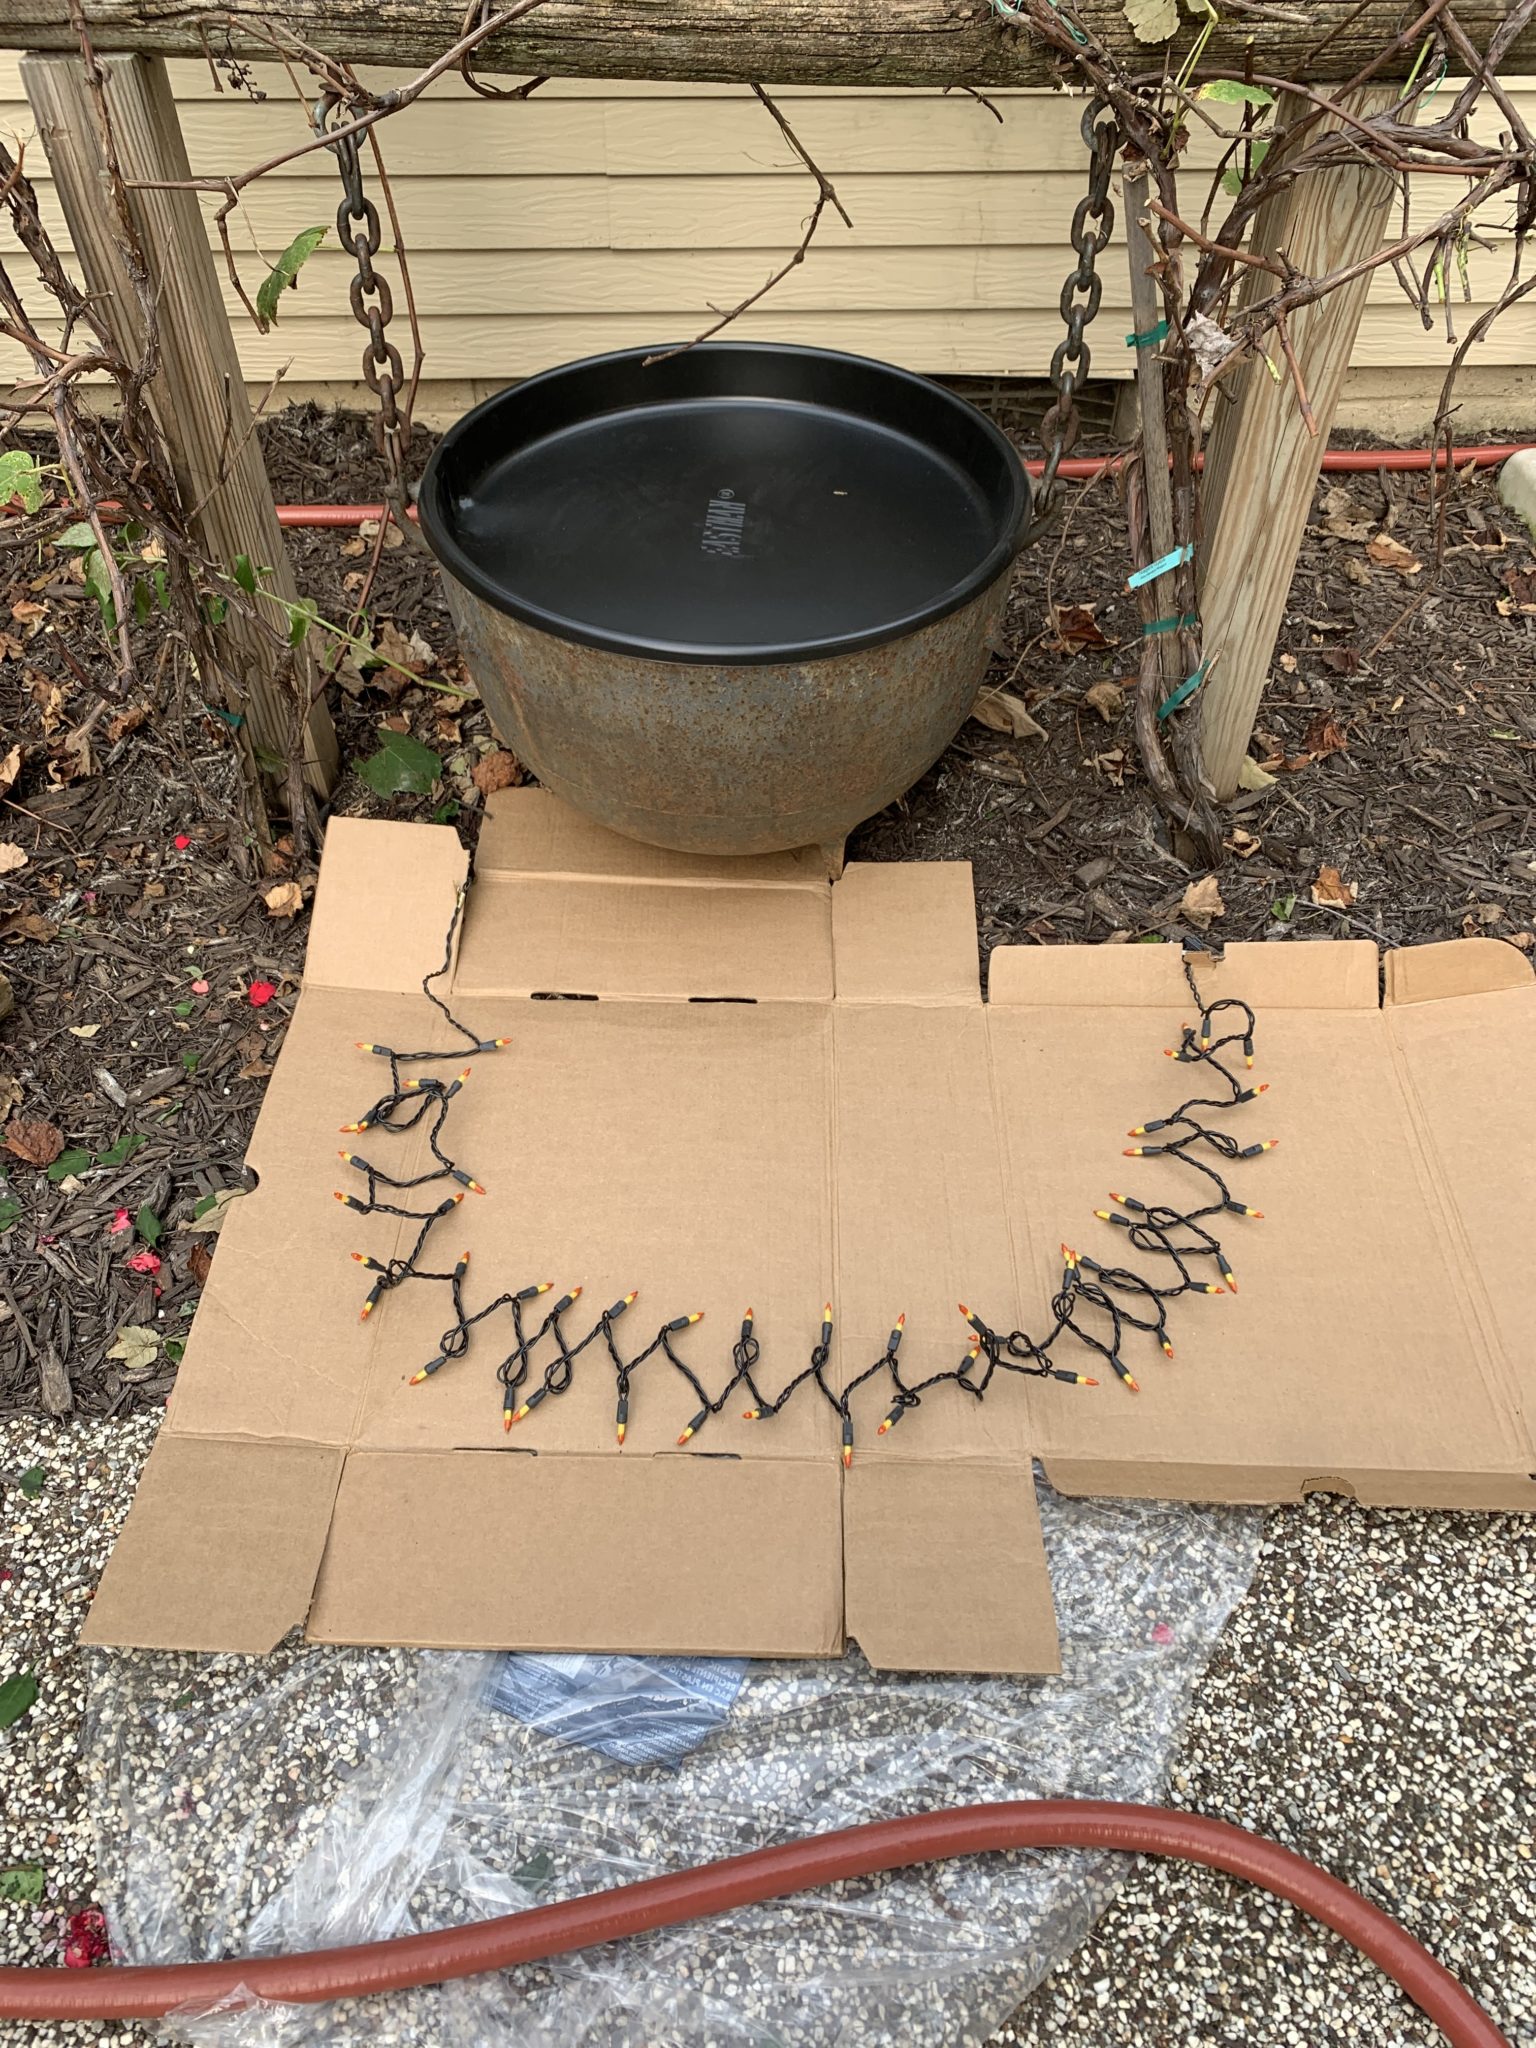
After I placed the tray in the cauldron, I moved onto the next step… making the fire! I first found a piece of cardboard that was big enough to fit around the outside of the pot. Then, I laid one set of string lights down in the shape of a semi-circle, shown in the picture below. Once you have the lights laid out in the shape you want, it’s time to open your can of ‘The Great Stuff’.
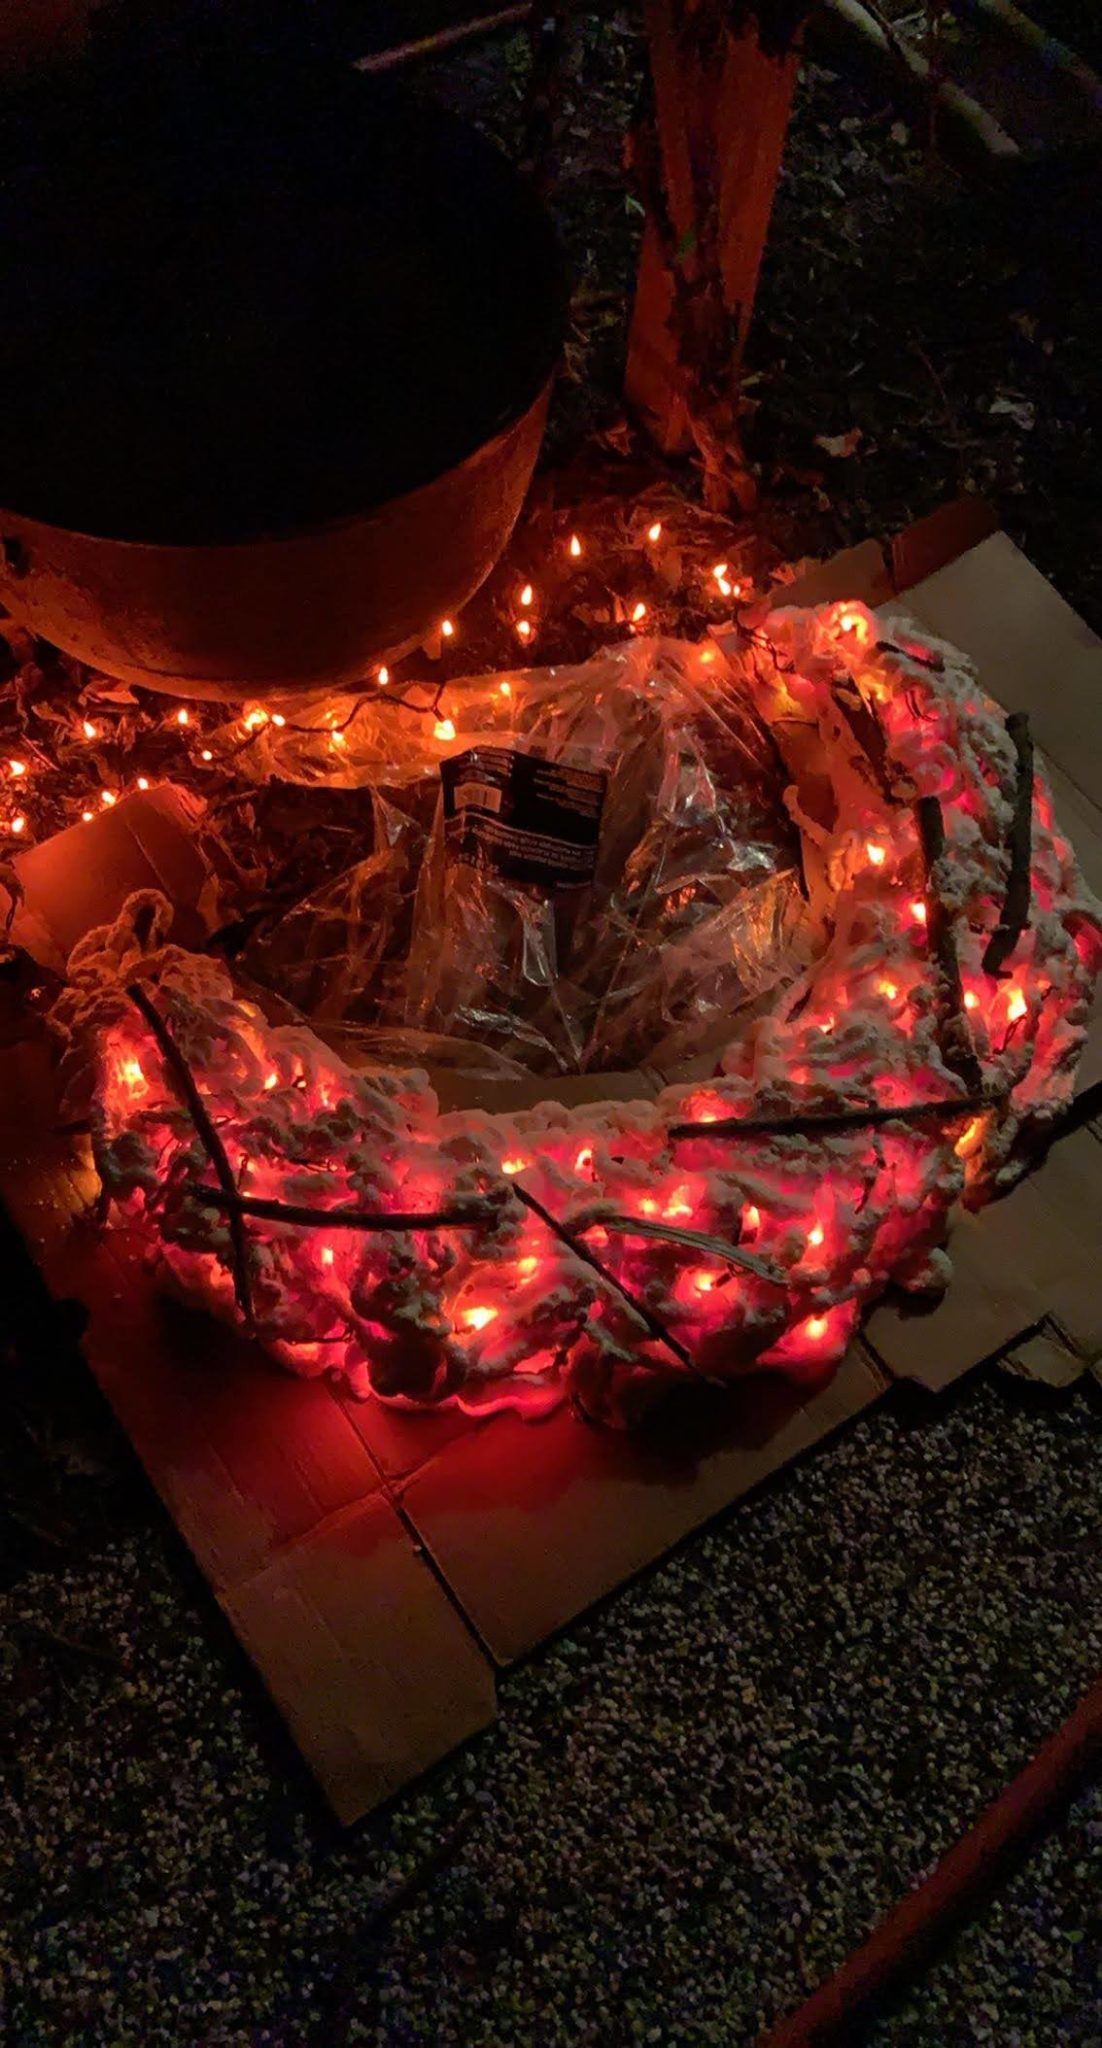
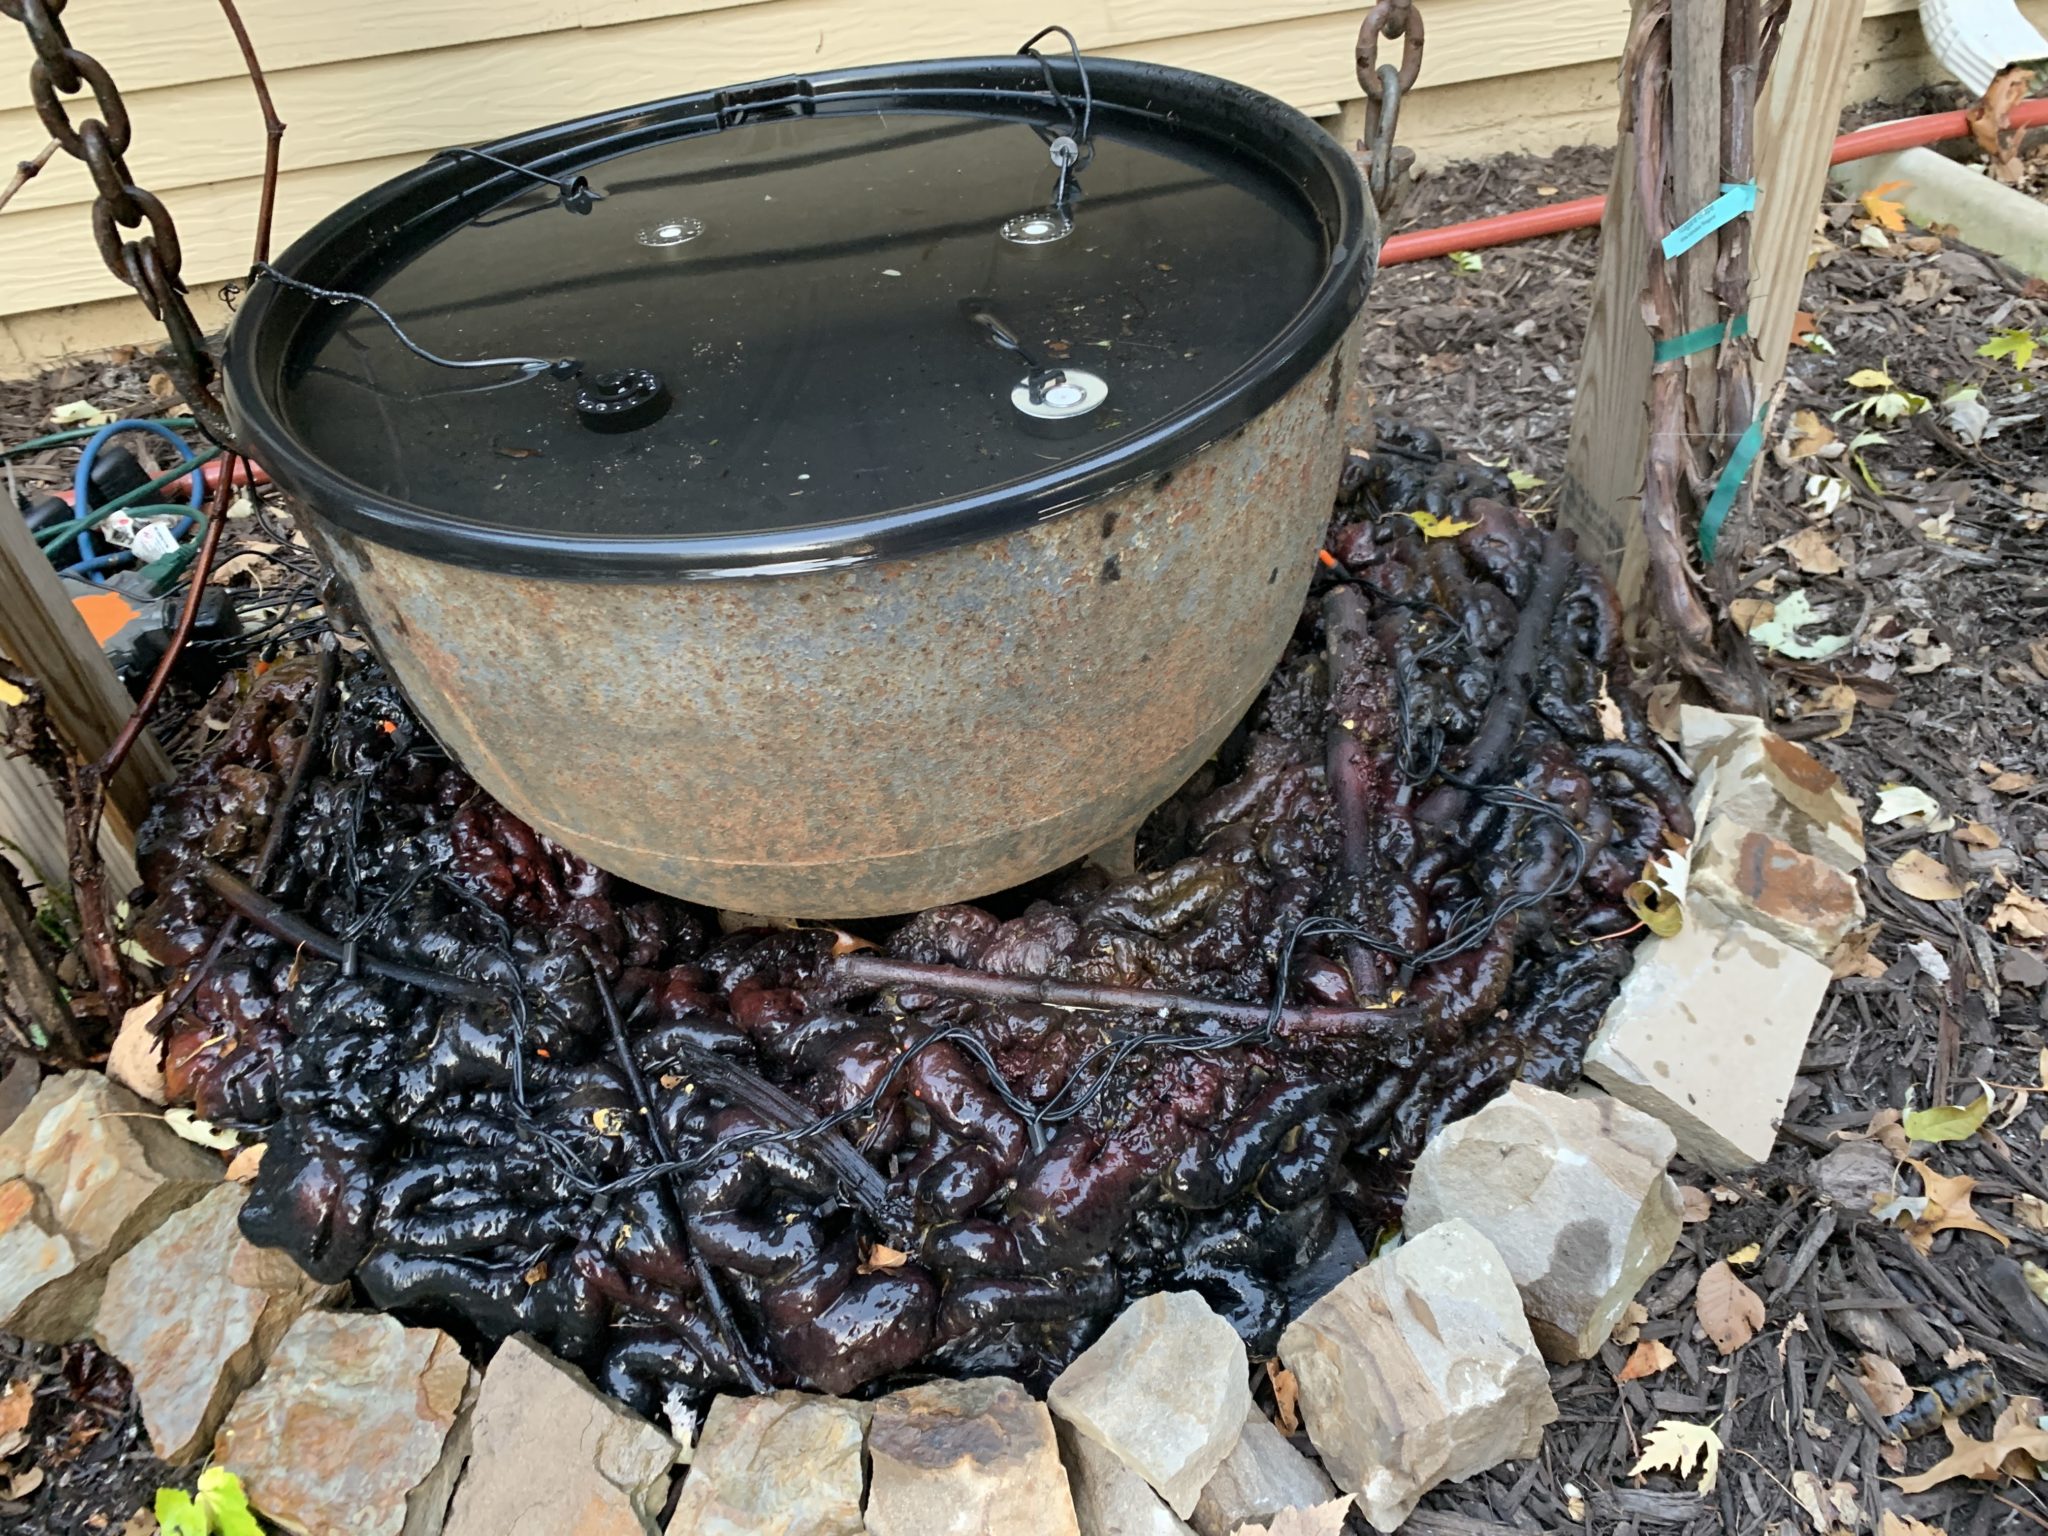
Spray the great stuff on top of the lights. It may feel like you’re not going to be able to see the lights through the foam, but you will. While the foam is still wet, grab some sticks and place them on the foam. This makes the fire look more realistic.
**2022 Update: If you want your fire to last longer, use a piece of plywood instead of cardboard. I remade mine this year and used 1/4” thick plywood and sealed it with used Helmsman, an outdoor spar urethane that will protect against rain, moisture and temperature changes.
This year, I also used flickering candy corn lights instead of steady, non flickering lights. This gave my fire a much more realistic.
Step 3: Spray Paint
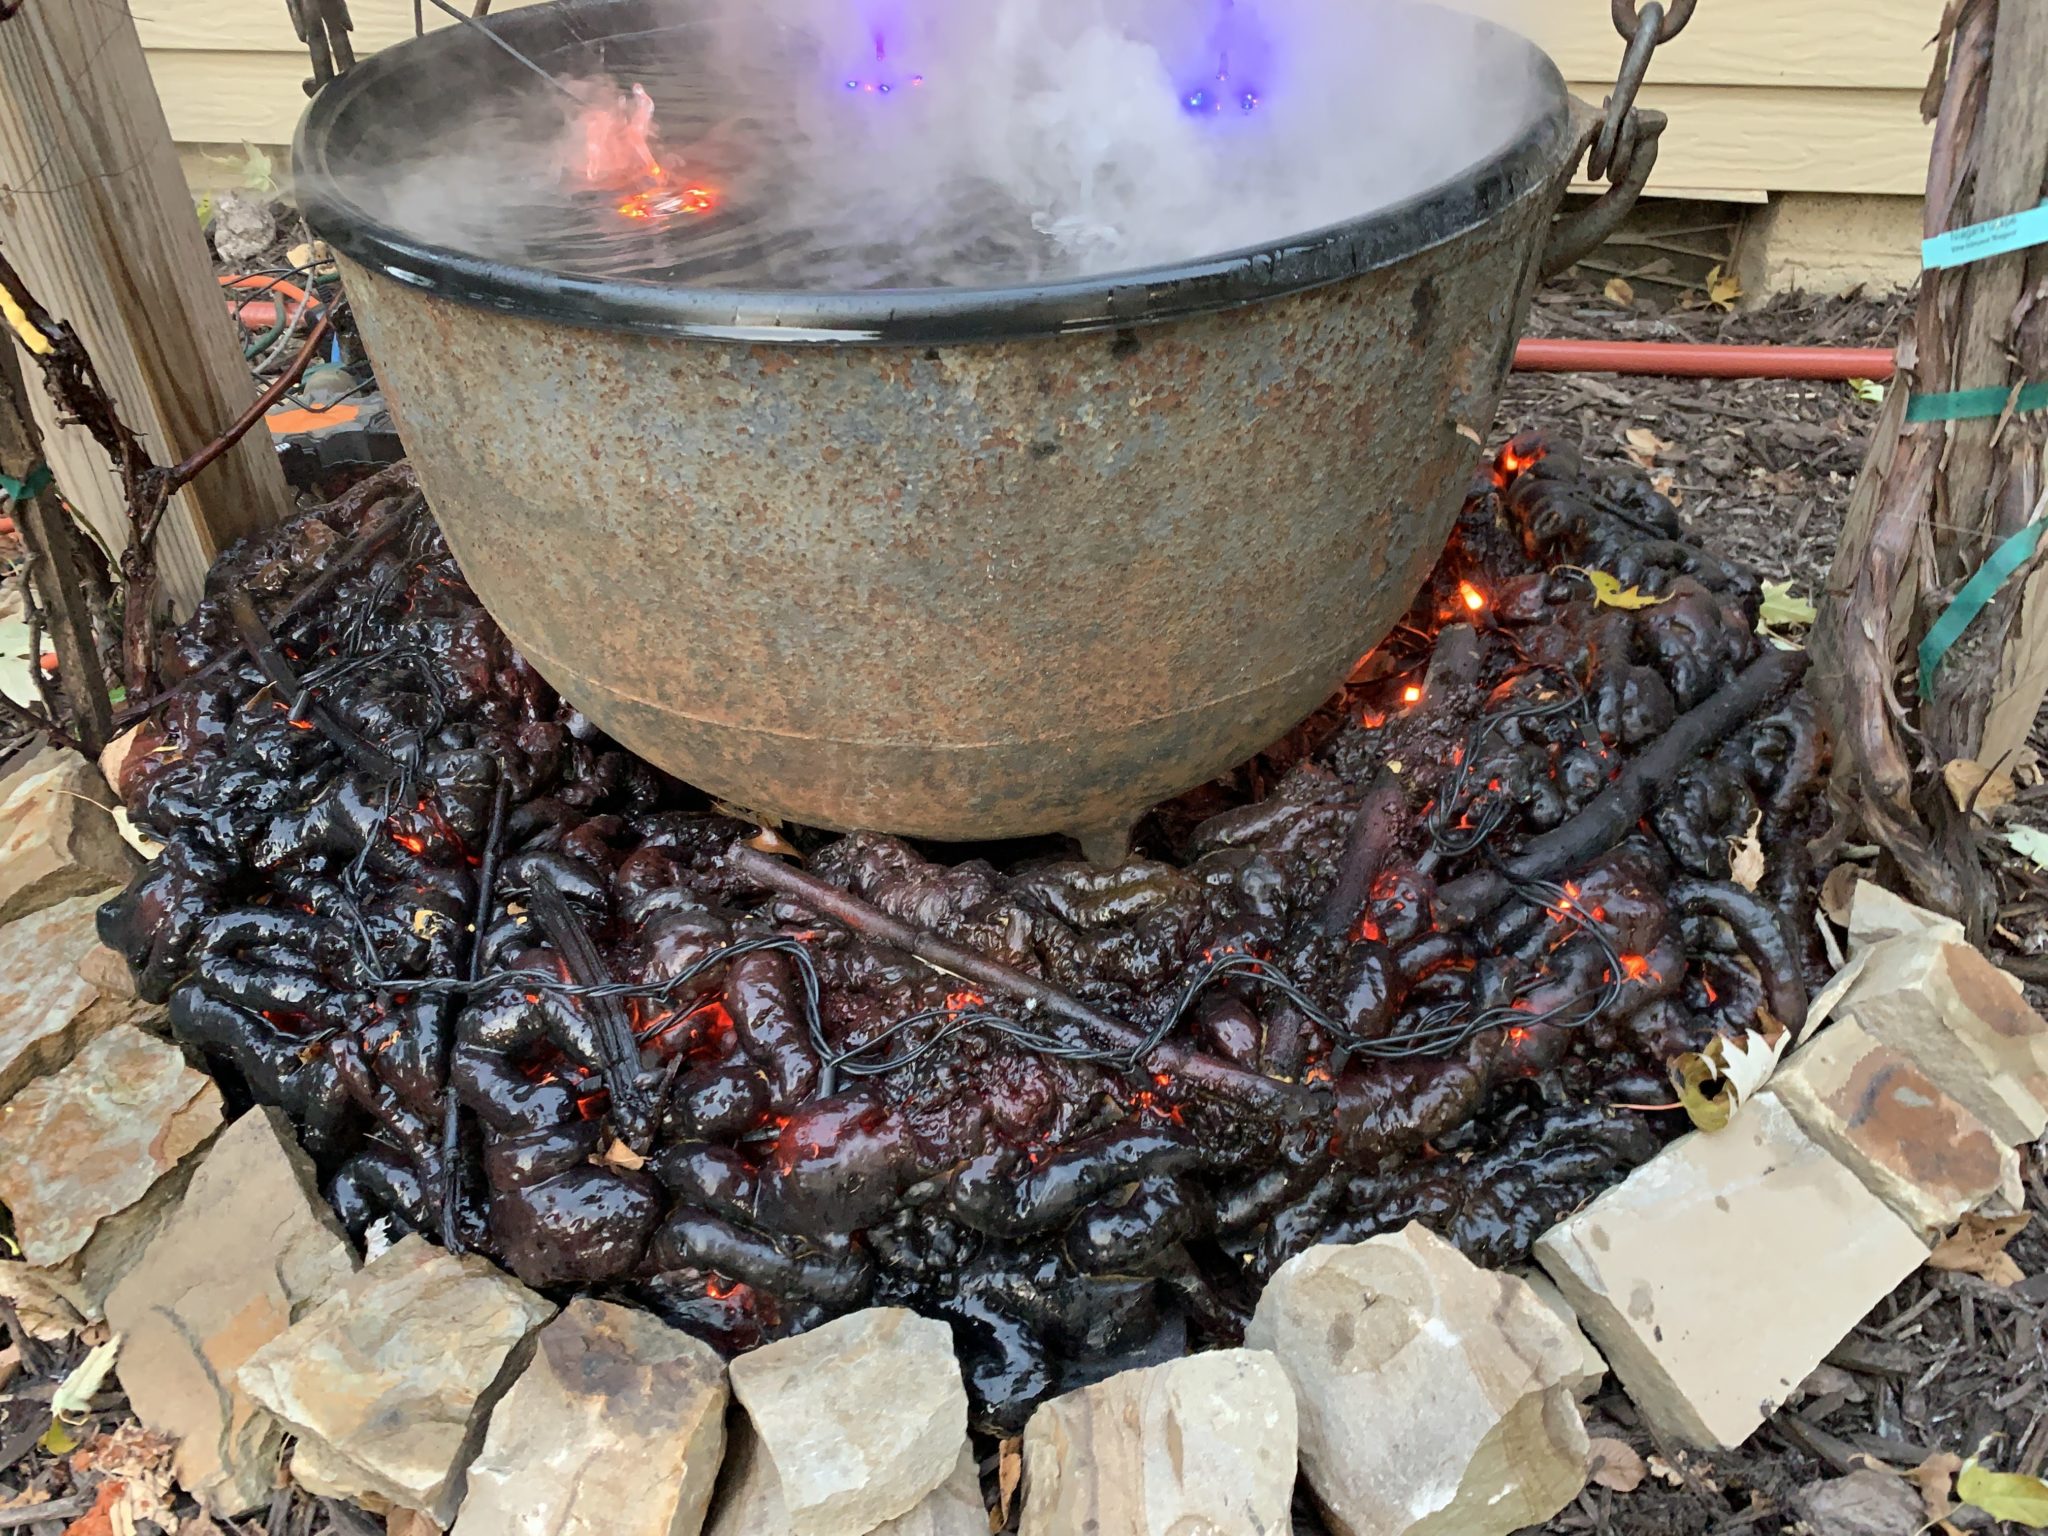
Once the foam has dried, take your black spray paint and spray the foam until the entire piece is fully covered. After the black spray paint has dried, you’ll then want to take your can of red or orange spray paint and lightly spray it in various areas. You don’t want to cover up all of the black, you just want enough red to make it look like it’s still smoldering in daytime when people won’t be able to see the lights as well.
Step 4: Sonic Mist Makers
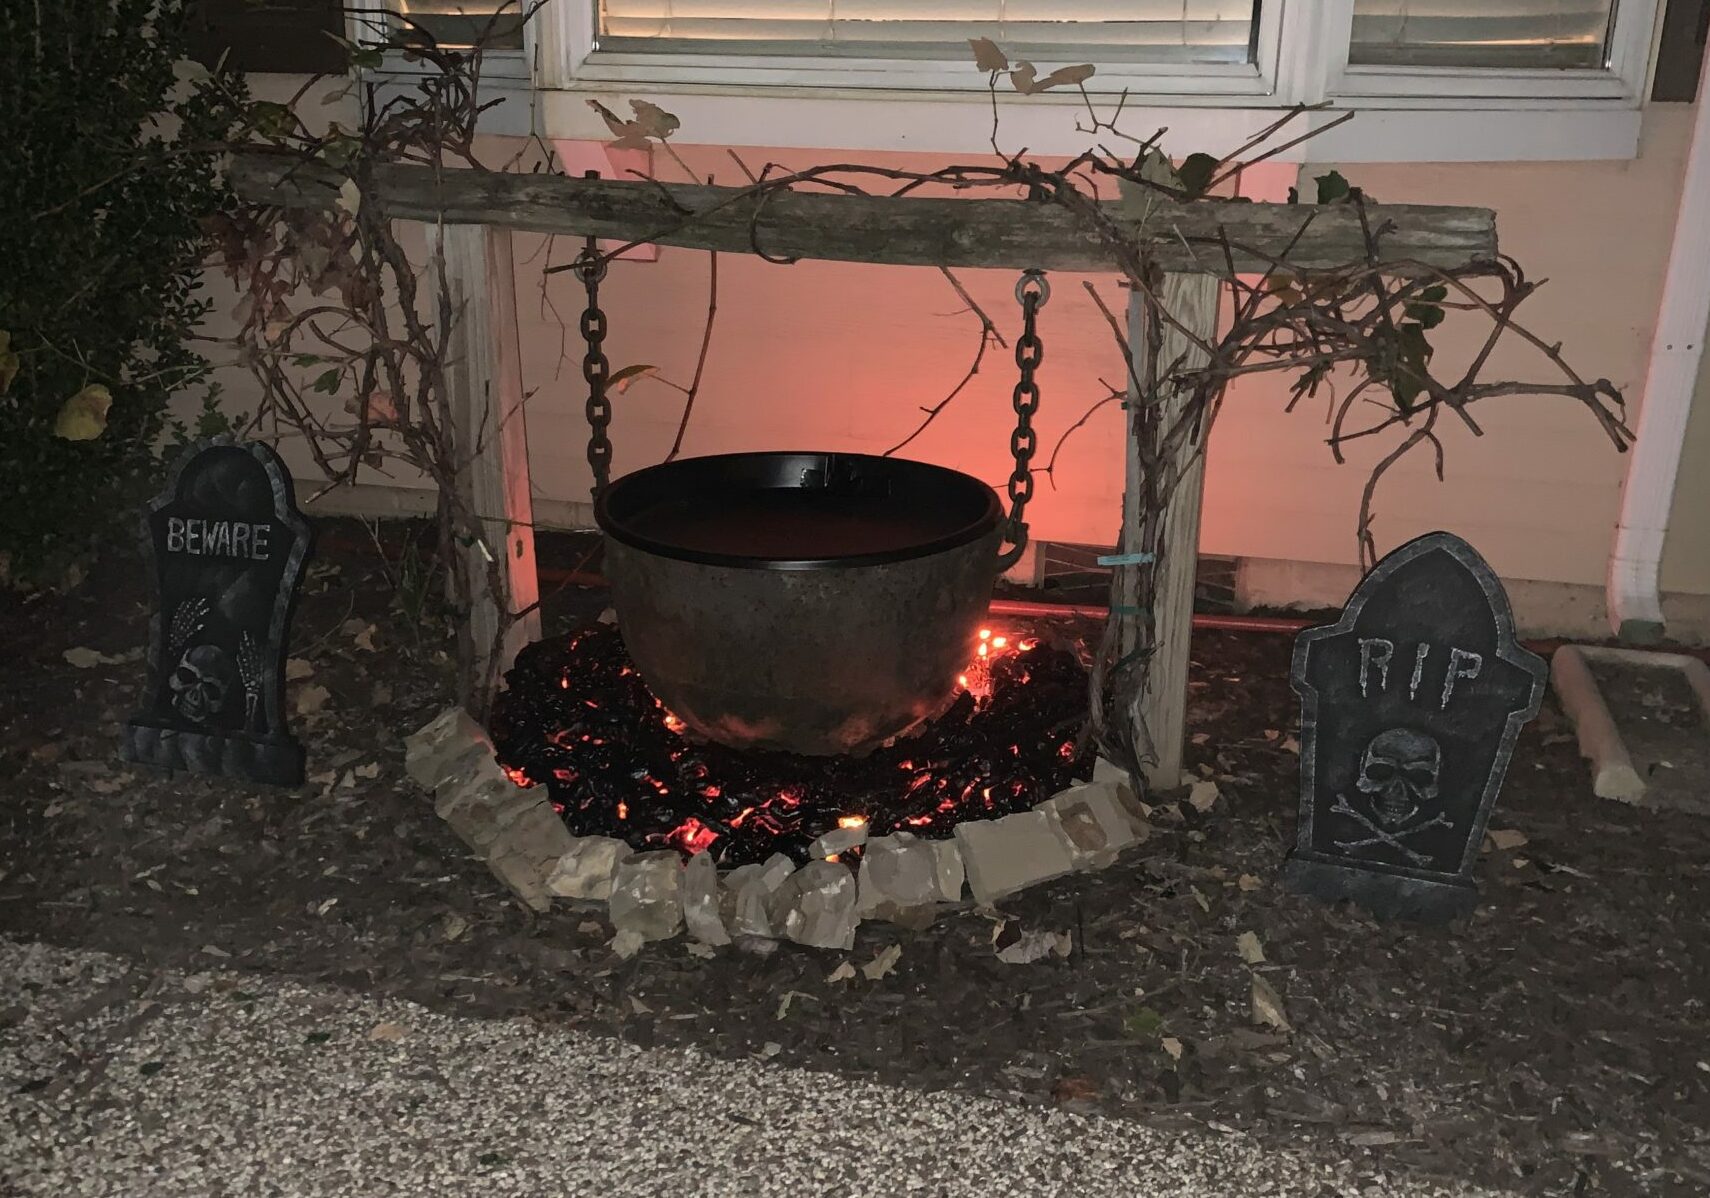
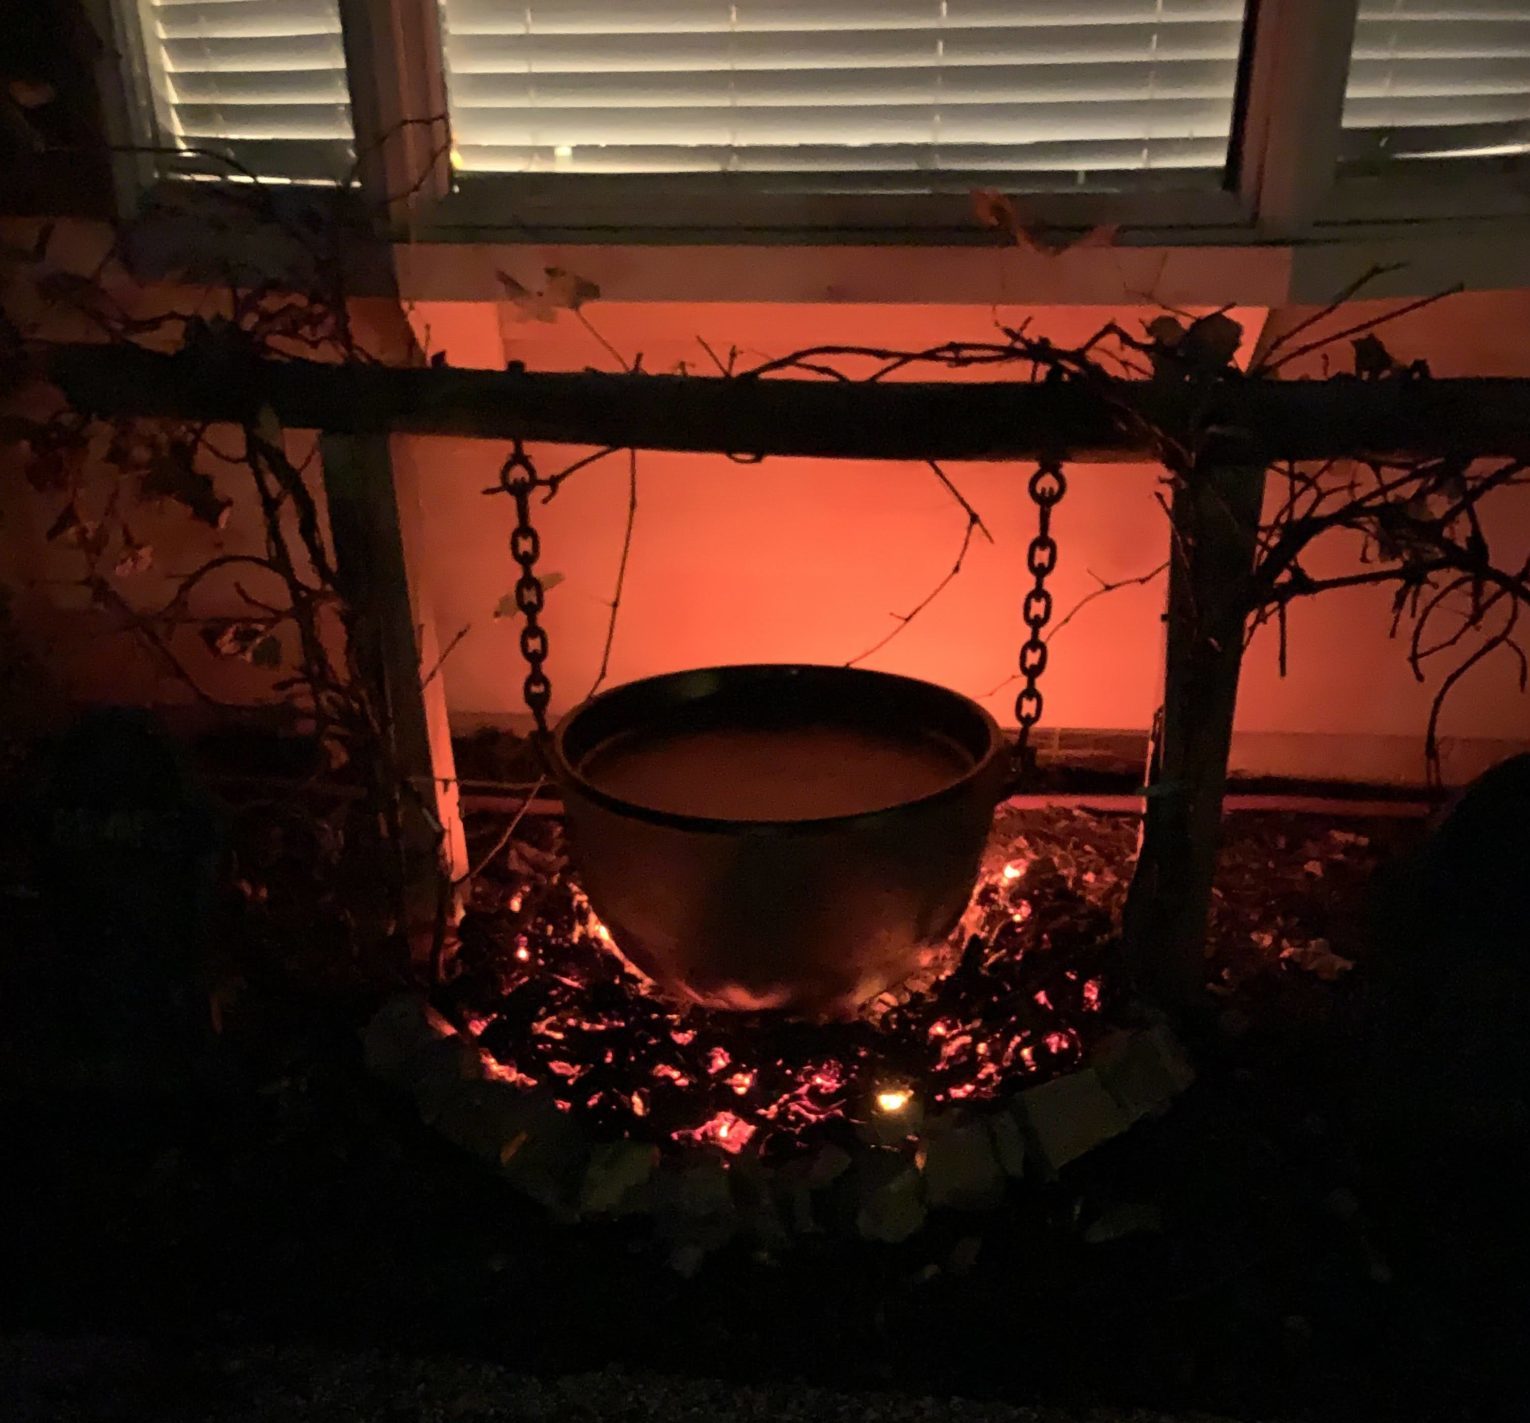
The last step really brings the cauldron to life. Fill your bowl with water, place the mist makers inside and plug them in! The mist makers work best when they’re in just a couple inches of water. There are mist makers with lights and ones without, so it’s up to you if you want it colorful!
I hope your cauldron turns out amazingly! Thanks for checking out my post! If you want more DIY ideas, click here. Please post comments, questions, or even upload pictures of your own cauldron! I love hearing from you! Also make sure to follow me on Pinterest and Facebook!


