Crafting Ideas into Reality

Creating a Christmas Village

Christmas Village

Constructing a mountain

I started by gluing several sheets of styrofoam together to make a thick block. I did 3 separate sections of blocks. I glued 4 sheets together for the first layer, and 3 sheets together for the second and 3rd layers. I then staggered the blocks like stairsteps, and then crumpled up balls of paper and taped them to the front of each section (see example graphics below).

After crumpling the paper into balls of different sizes, I cut sheets of plaster cloth, dipped them into a bowl of water and placed each sheet over the paper. This is what will give the mountain a “rocky” look. I only used plaster cloth on the front and sides. 

After the plaster cloth dries

The next thing I did was carve a shallow river into the top of my mountain. The waterfall that I’ll be making will fall from one side of the mountain and splash into the pond. I used a “hot knife” from the Hot Wire Foam Factory to carve out a shallow path. I sealed the river with mod podge, and once that dried, I painted it light blue. 

Once the plaster cloth is dry, it’s time to paint! I used Liquitex Acrylic paint colors, mars black, iridescent graphite and titanium white to paint the plaster cloth in front. I used a sponge brush to create the variation of color. I used Rustoleum “stone gray” to spray the top and sides because it was faster. 

Creating a realistic pond with waterfall

I started by taking one sheet of styrofoam and I cut a hole the size that I wanted my pond. I glued another sheet of styrofoam underneath the sheet that I cut the hole in. Once the glue dried, I used caulk to seal the gap between the 2 sheets of styrofoam inside the pond. 

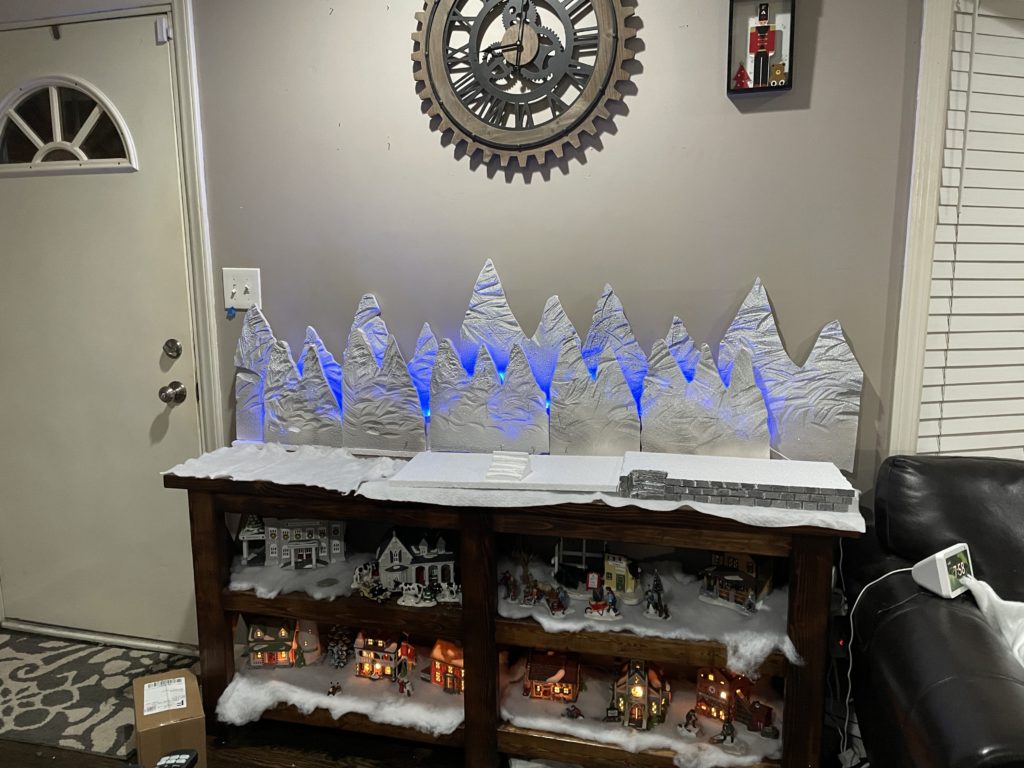
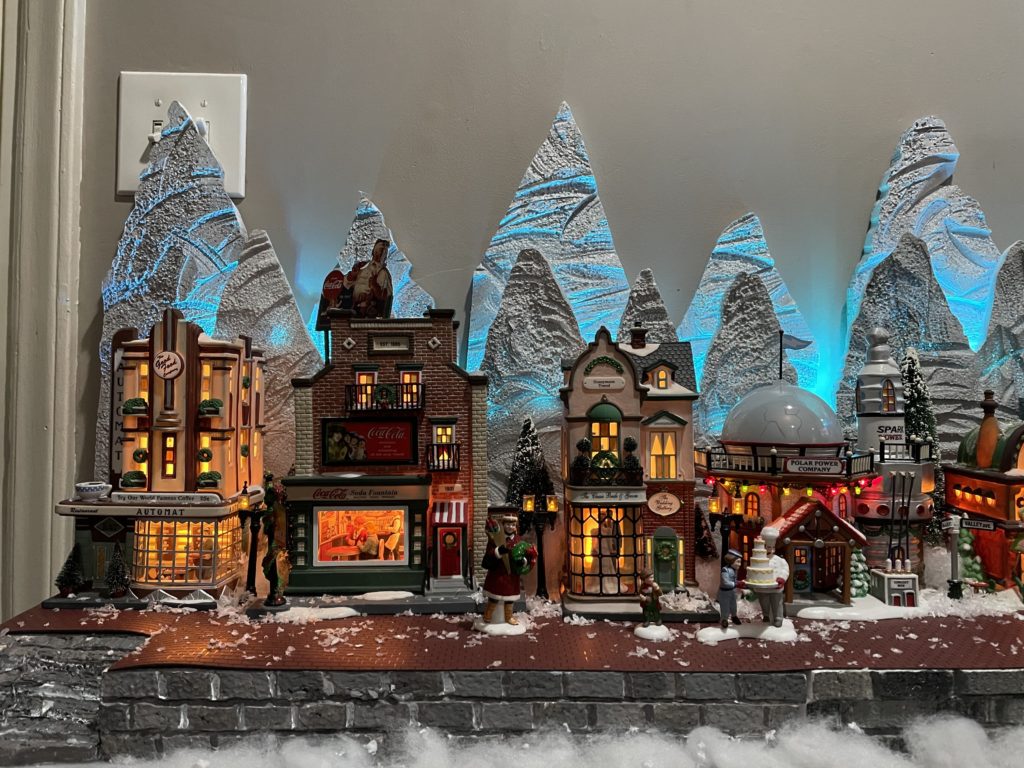
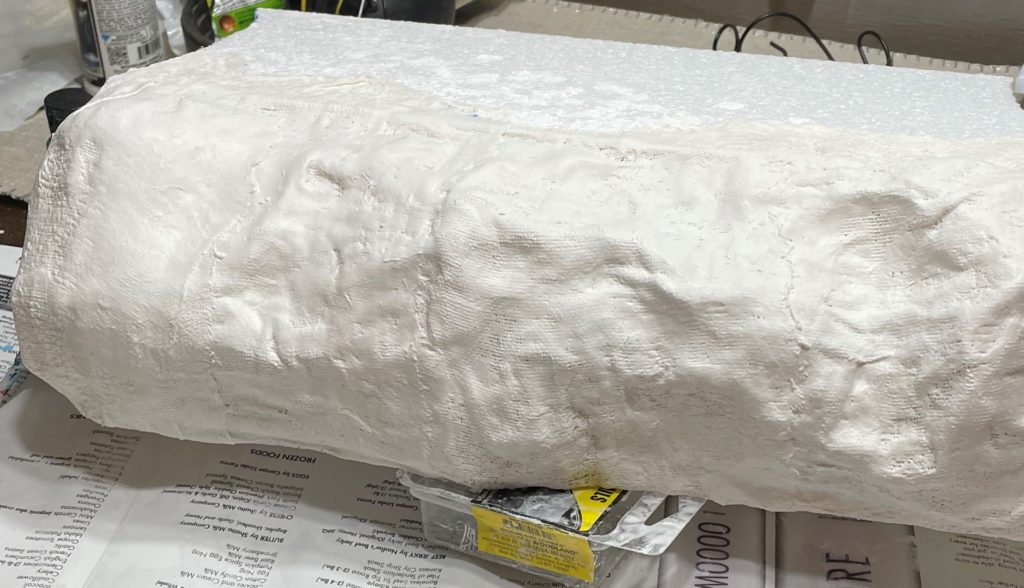
I then decided to use sheets of plaster to smooth out the edges, but I don’t think was really necessary. After the plaster dried, I used mod podge to seal the bottom of the pond, as well as the sides. Once that dried, I painted the pond bright blue. When the paint was dry, I poured epoxy with blue colorant into the pond and in the river I carved out of the mountain. 

I like using epoxy, but if you’re not confident in using epoxy, you can use ‘Woodland Scenic Realistic Water’.  It doesn’t require any mixing. It only comes in “clear” but you can add a drop or two of blue food coloring and gently roll the bottle until the color is uniform. 

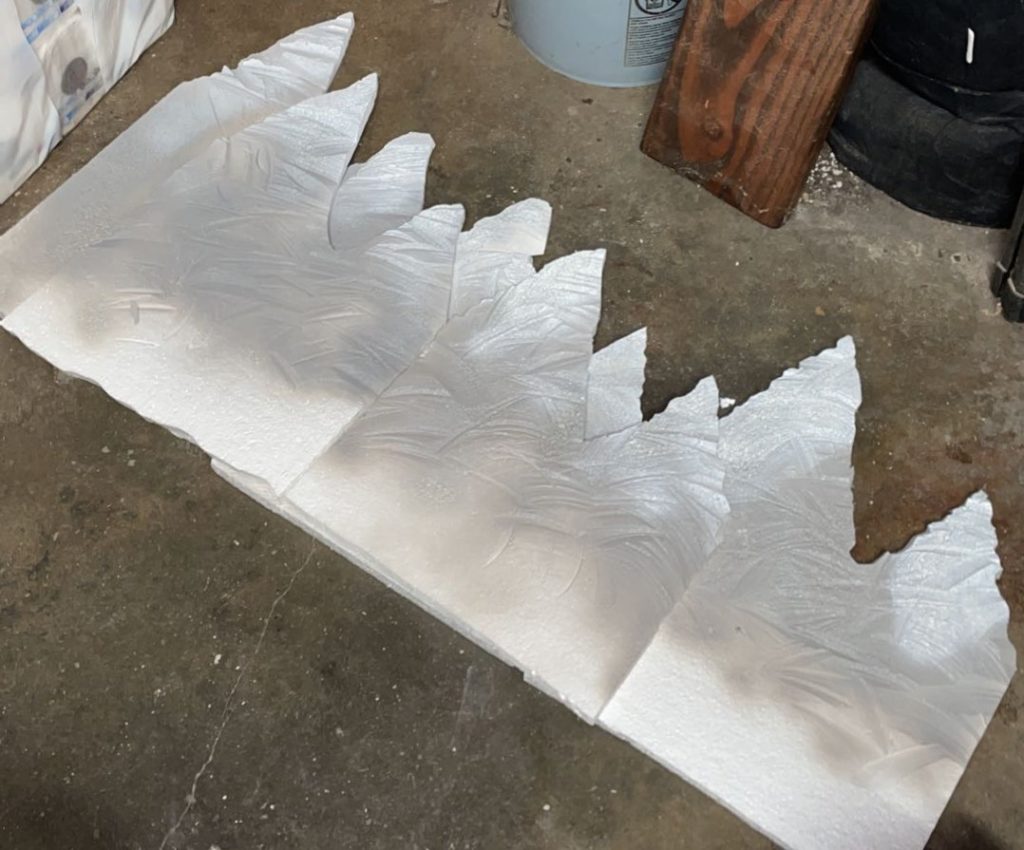
I added decorative rocks around the edge of the pond, and the edge of the river. I used all purpose household gorilla glue instead of using hot glue because the hot glue melts the styrofoam. 

IMG_3736

Making a realistic waterfall

I used Woodland Scenics Water Effects to make my waterfall. I measured how long and wide the waterfall needed to be. I then used a piece of wax paper and drew straight lines that touched each other and took a couple of toothpicks and ran the toothpicks through the lines. This makes the water look like it’s “flowing”. There’s a great video I found on youtube that explains this process. You can view it here

After 24 hours, it should be dry enough to peel off the wax. In order to attach the waterfall, you’ll want to use more of the “water effects” and draw a line across the top of the waterfall. Place the waterfall on the line and hold it firmly in place for about a minute. 

At this point, I decided I wanted my waterfall to be wider, and I that I also wanted my mountain to be placed on the right side of the table, instead of the left, like it shows in the picture below. 

IMG_3178_(1)

Once my waterfall was the width I wanted, I created little “peaks” at the base. I used a thin paint brush to lightly tap the peaks, like the water is splashing. Creating peaks at the base, will also hold the bottom part of the water fall in place. I used the same paintbrush to gently pull some of the peaks outward to blend into the pond and create a “rippling” effect. Once the water effects was dry, I took white paint and lightly painted the ripples and peaks so it would look even more realistic.

IMG_3253

Sculpting the mountains 

To sculpt the mountains, I cut the styrofoam sheets into 4 sections. Then, I used my Hot Wire Foam Factory Hot Knife and cut a V shaped pattern into each section. I used the hot knife to lightly carve out sections of the styrofoam to give it texture. I also made cuts on the edges of the mountains. 

I used spray mod podge to spray on the mountains before painting them with spray paint. Without sealing the styrofoam, the spray paint can eat through the styrofoam. As you can see in the picture below, I used a dark gray and a light gray for the base and white for the peaks. I also used metallic sparkle spray paint over the white peaks. 

I placed a line of mountains in the back, and another line of mountains in the front to make give it some depth. I used T-pins to hold the mountains together and purchased a small LED strip light to lay in between the mountains. The T-pins served another purpose too because they held up the strip light. 

Creating the main base

To make the base that the village houses would be placed on, I glued 3-4 sheets of styrofoam together and used my Engraver from the Hot Wire Foam Facotry to carve blocks into the side of the base. The year before, I used my hot knife to carve mountainous texture on the sides.

To make the stairs, I cut out a section of the styrofoam base and used a sharpie to draw stairs on the side so I’d have a template on where to cut. I used my hot knife to cut the steps and then glued the block back into the space.

65933234882__E64E4D0E-48BA-4D7D-9FBE-C87F8555C1B0

Completed Village

IMG_3441

Products I used

Styrofoam sheets

Plaster cloth

Woodland Scenics Products

Hot Wire Foam Factory Products
Mars Black
Iridescent Graphite
LED Strip Light
Alyssa

Alyssa Fernandez

Blogger, crafter, adventurer

Hi! Thanks for visiting my blog! I’m glad you’re here. I started this blog to share my passion of DIY and crafting. I hope my blog inspires you to create your own unique masterpieces!

Social Media
Sponsors
My Favorite Products
Disclosure

A Home Crafter is a participant in Affiliate programs, including but not limited to the Amazon Services LLC Associates Program, an affiliate advertising program designed to provide means for sites to earn advertising fees by advertising and linking directly to the affiliate site.  

Search

Leave a Reply