DIY Outdoor Tabletop Fire Pit
I don’t know about you, but mosquitos’ LOVE ME. Unfortunately, the feeling is not mutual. I’m blessed to have a large covered deck and big backyard, but it’s hard for me to enjoy because I get eaten alive. I get so many bites that it looks like I could have some crazy disease. And yes, I know what you’re thinking…. why not just use bug spray? But the only kind that works for me contains deet and I don’t want to spray deet on myself every single day just to be able to enjoy my backyard.
So I came up with a great solution… a tabletop firepit with mosquito repellent tiki fuel. Not only does it look great as a table centerpiece, but I can enjoy my deck without having to spray myself with deet. It’s also incredibly easy to make!
**Update**
I’ve received a lot of comments about the glass bowl breaking if it gets too hot. I use my table top fire pit consistently, and it has yet to break. However, it’s important to use a bowl that is considered “oven-safe” so it can withstand extreme temperature changes. I’ve listed a few options below that are safe to use. However, if you don’t feel comfortable making this project, don’t make it. I don’t want anyone to hurt themselves. Please do this project at your own discretion.
Supplies:
- Glass Bowl Option 1 (Can withstand extreme heat)
- Glass Bowl Option 2 (Oven Safe- can withstand up to 400 degrees)
- Glass Bowl Option 3 (Oven safe)
- Bitefighter Tiki Fuel
- Tiki Torch Wicks
- LavaGlass
- 4 oz Mason Jars
- Drill
- Drill Bit
- Gel Fuel (instead of mason jars/tiki fuel)
Step 1: Make a hole for the wick
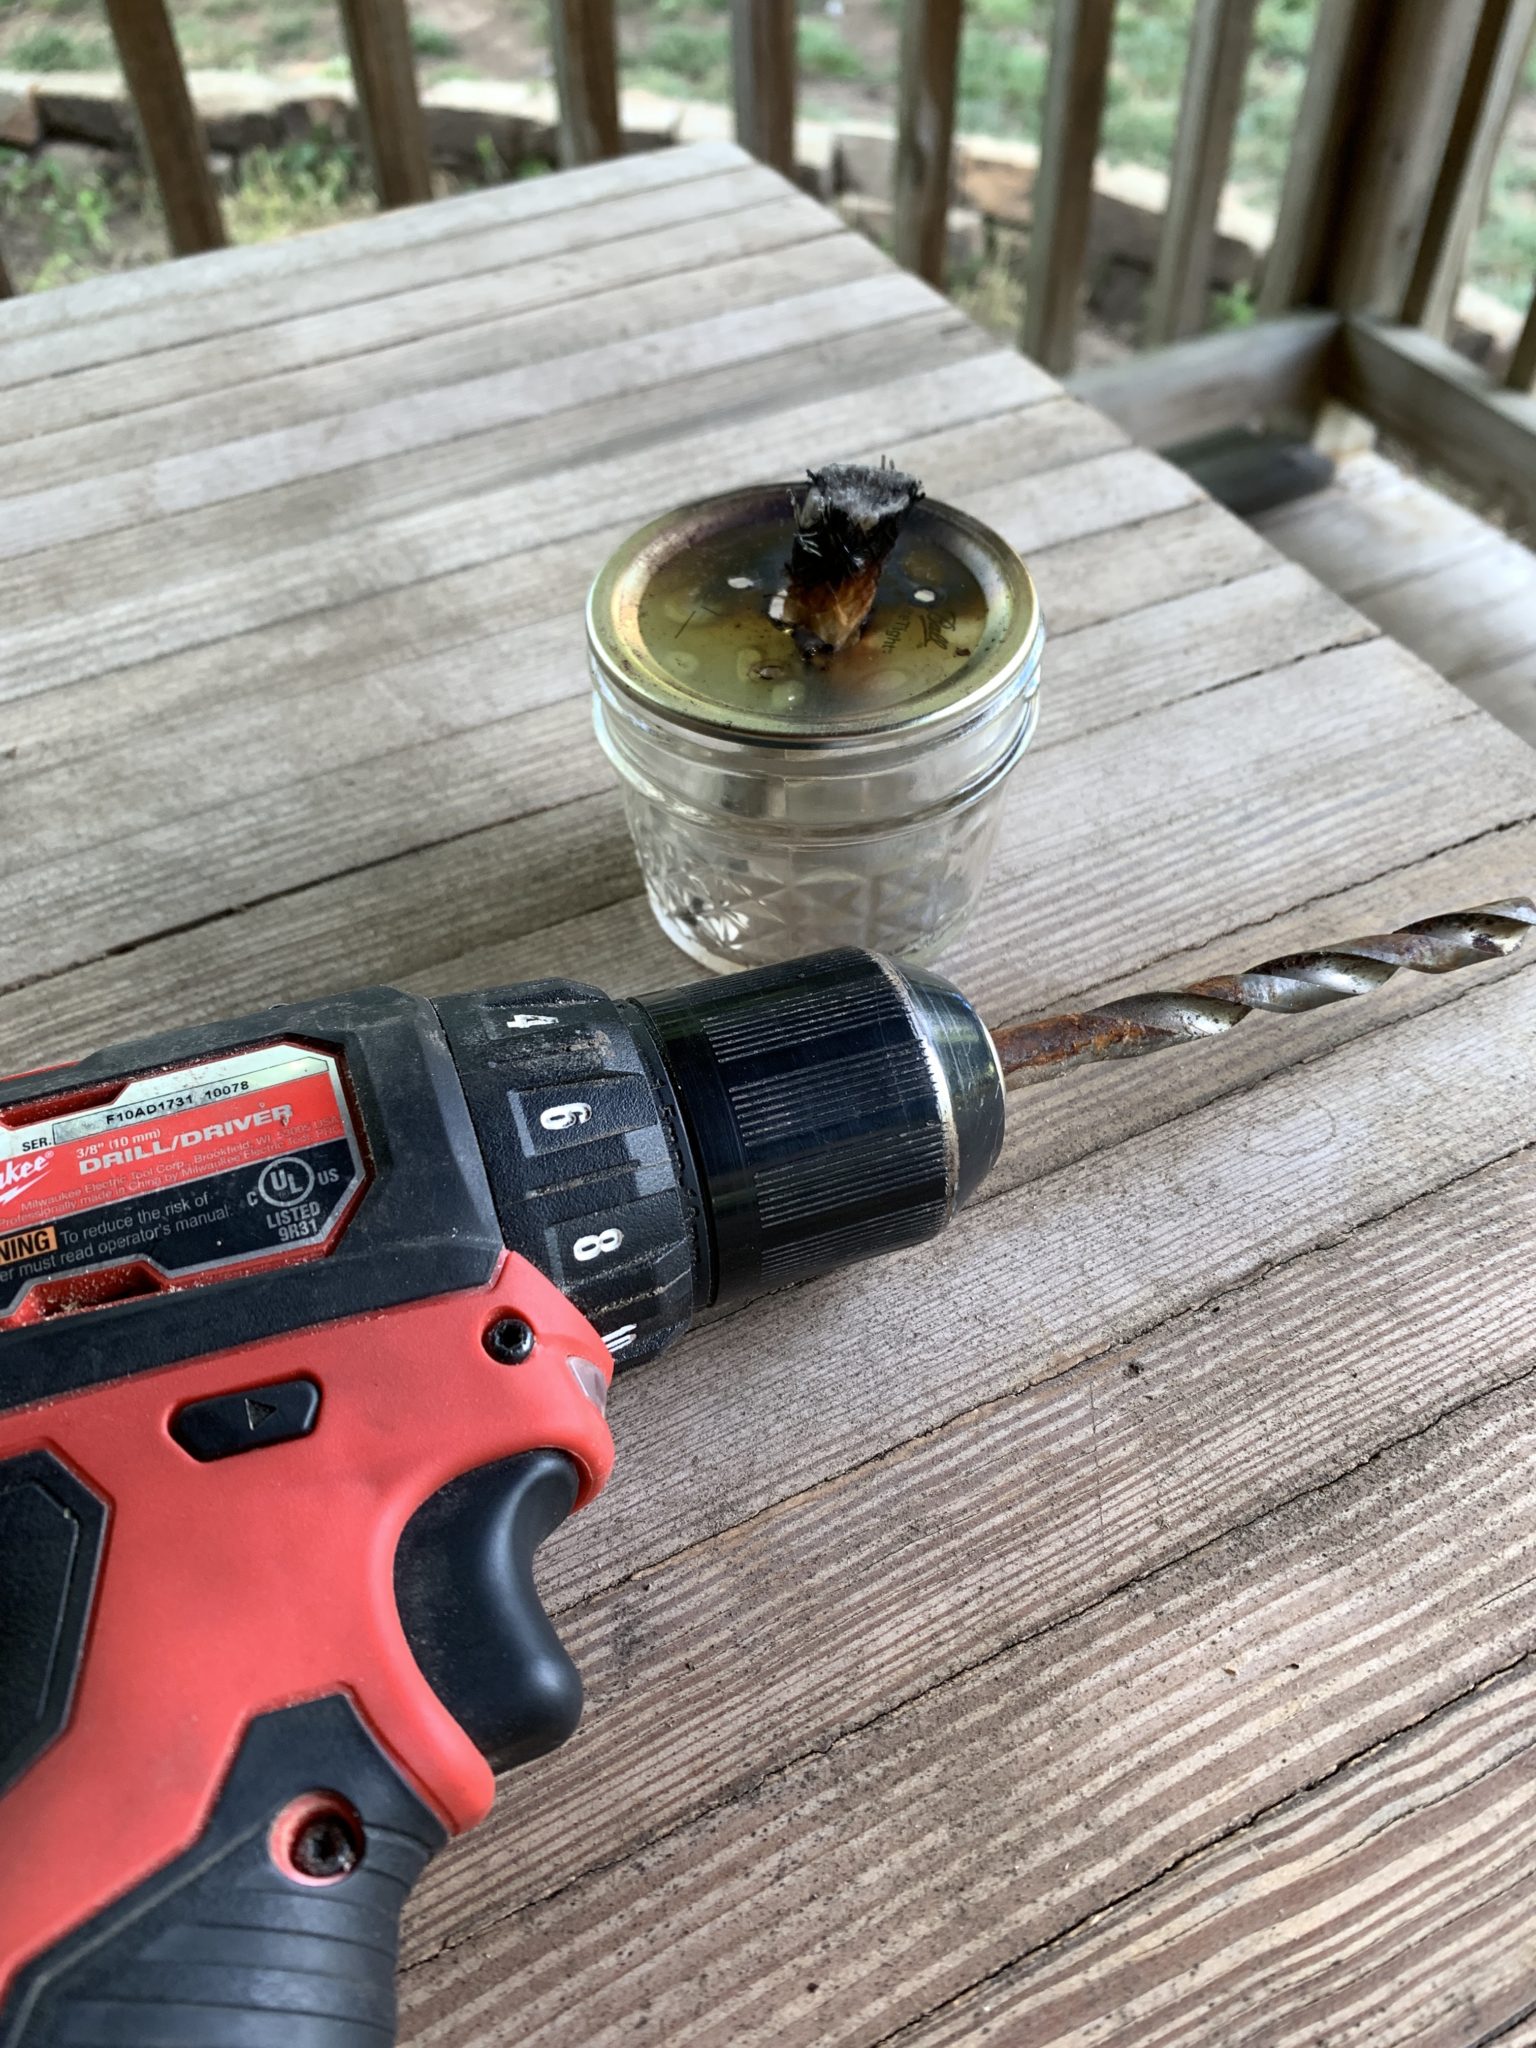
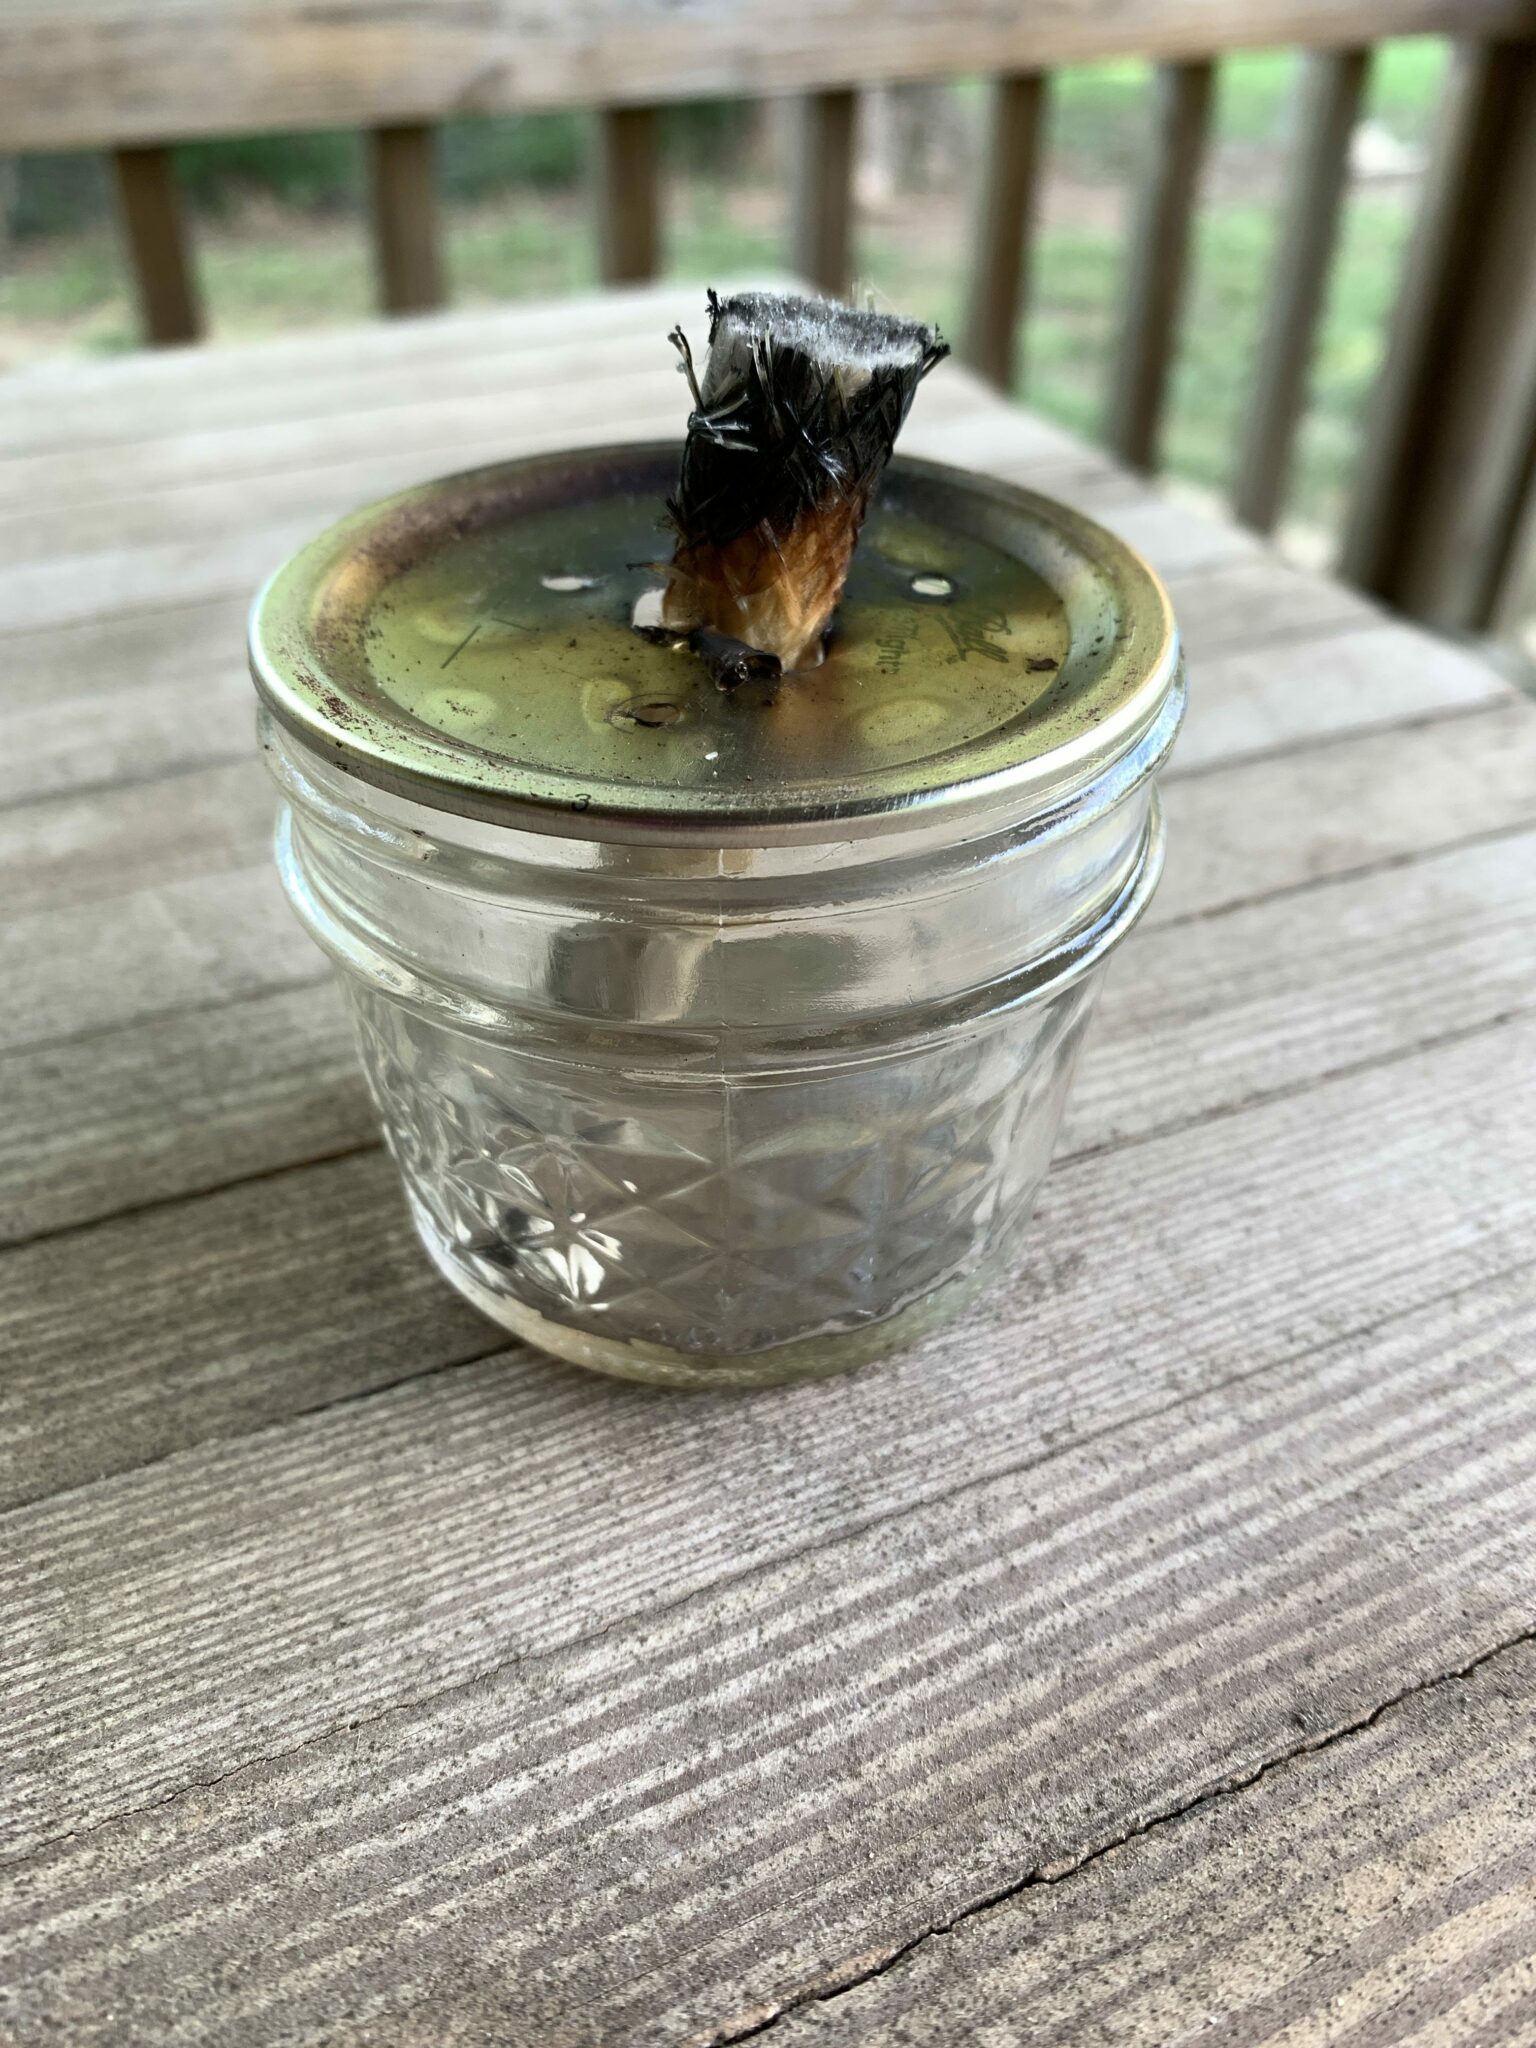
I first drilled a hole in the middle of the mason jar lid. Make sure you use a drill bit that’s big enough to fit the wick through the hole. You also don’t have to use the standard tiki torch wick, but it does provide a bigger flame. I had initially drilled three small holes to fit smaller wicks, but the flame wasn’t big enough for my liking.
**If you don’t want to take the time drilling a hole for the wick, you can use gel fuel. There’s a link to gel fuel above, under “supplies”.
Step 2: Insert wick, fill jars and add lava glass
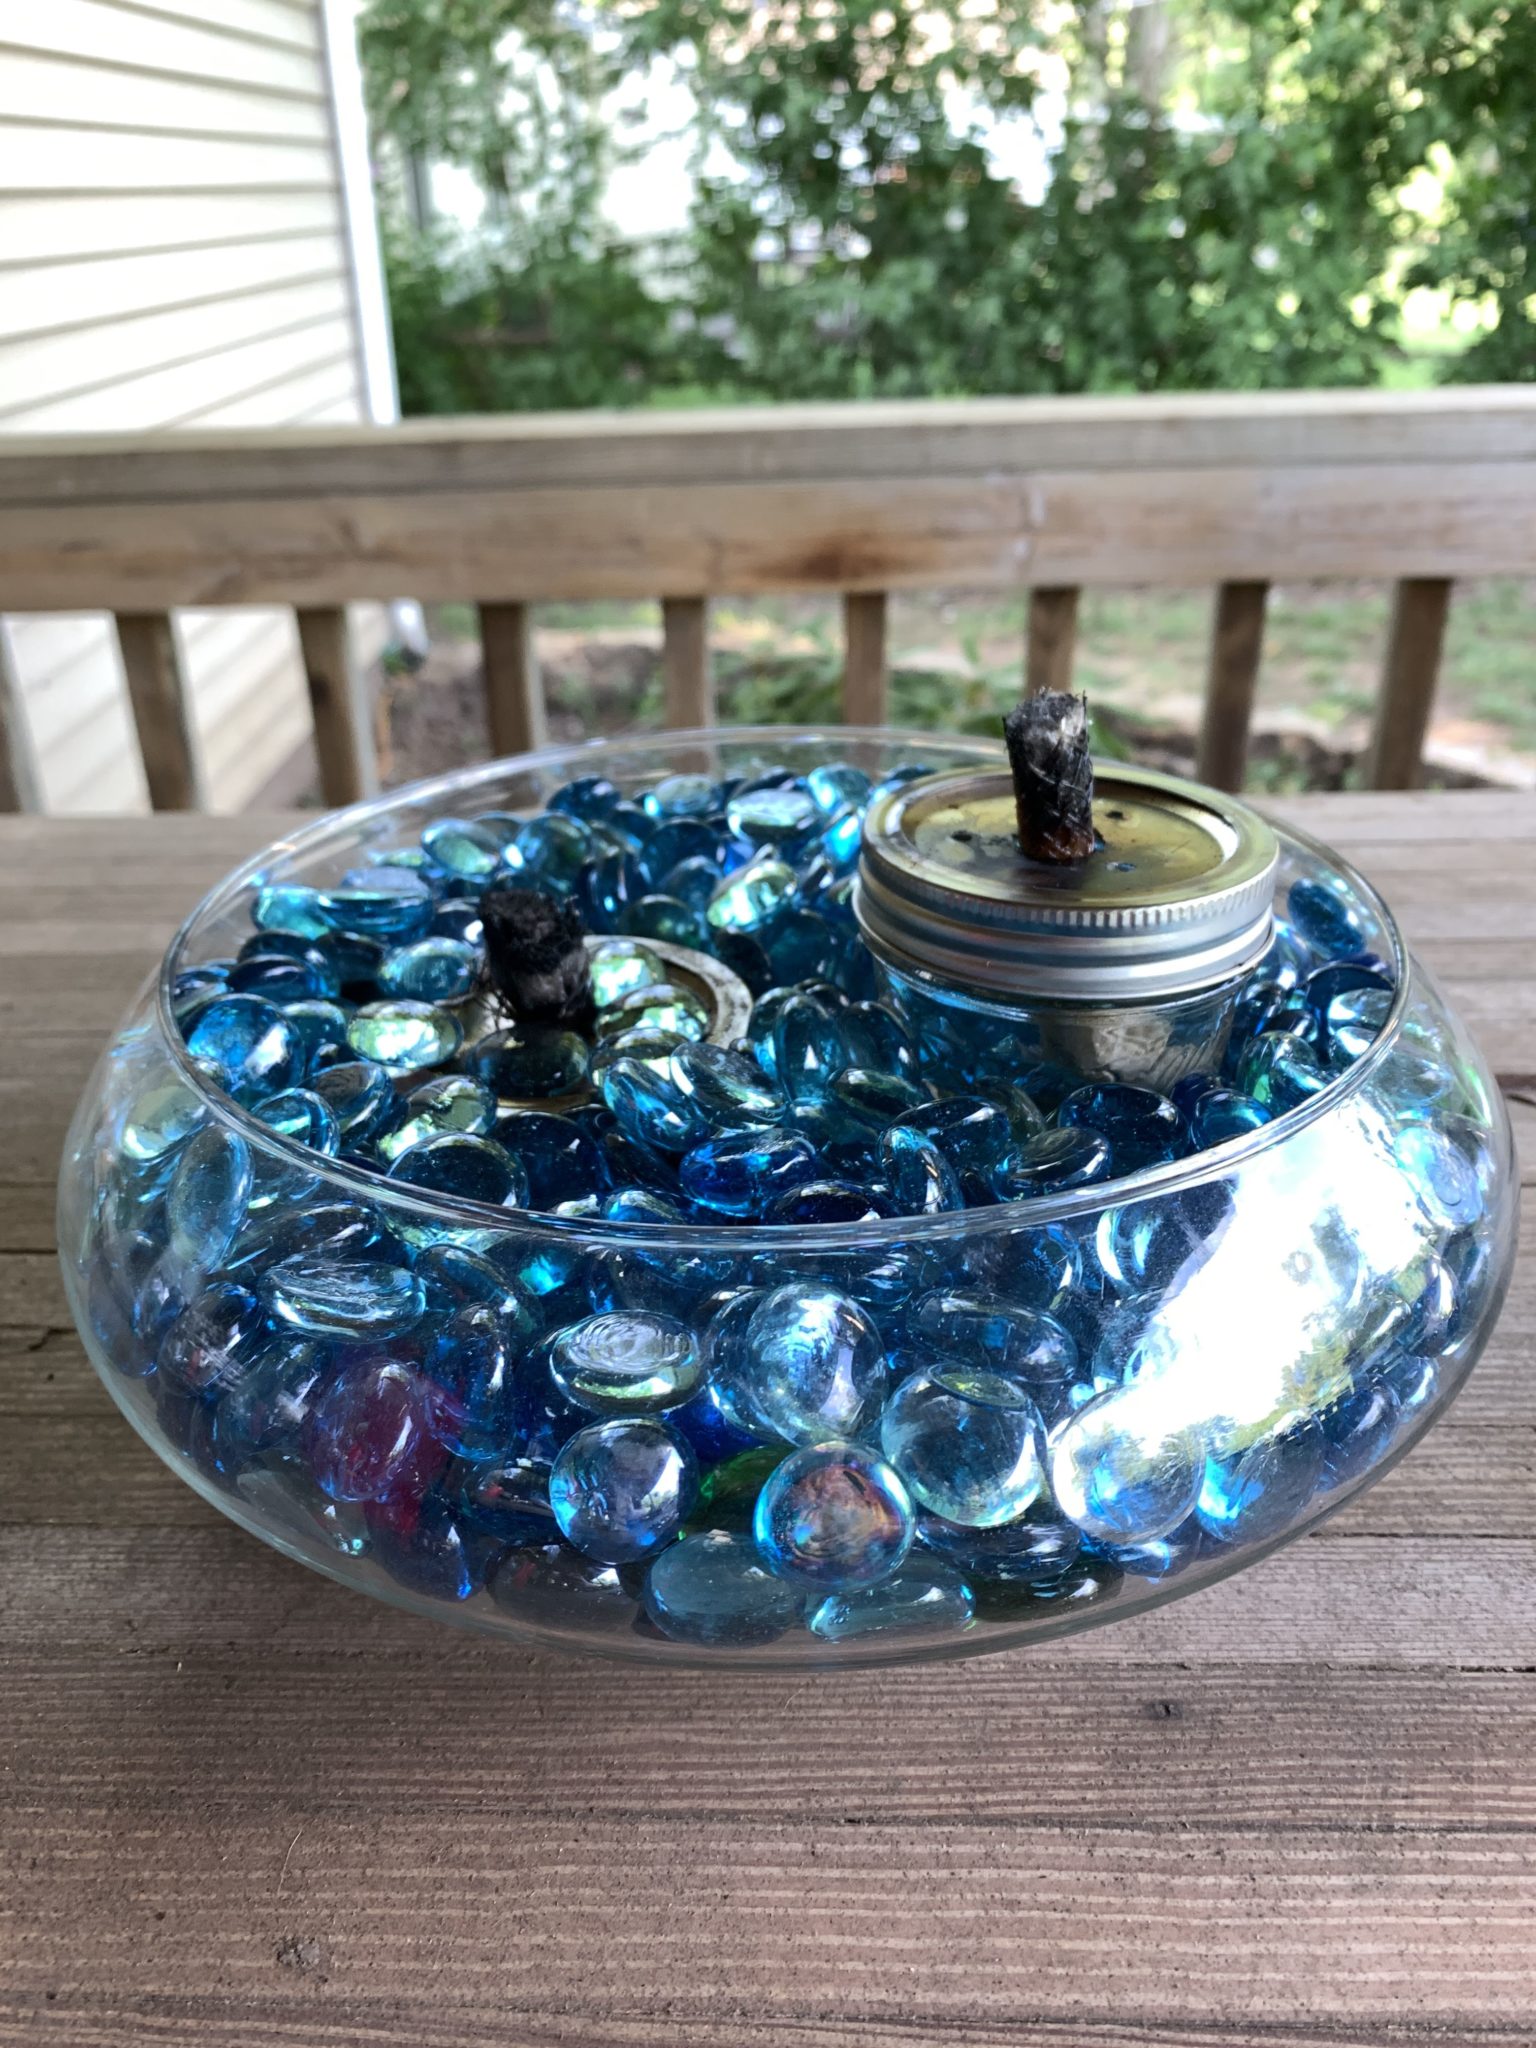
Once the hole has been drilled, push the wick upwards through the hole so that an inch or two sticks out of the top. You don’t want the wick to be too tall. I used two 4 oz. mason jars because they fit perfectly in the bowl that I used, but you can use any size jar with a lid.
Once you’ve placed your jars in the bowl, spread your glass beads around the jars. Ideally, you want to have enough beads to fill the bowl, but as long as the jars aren’t showing, it doesn’t really matter.
Cleaning and maintenance
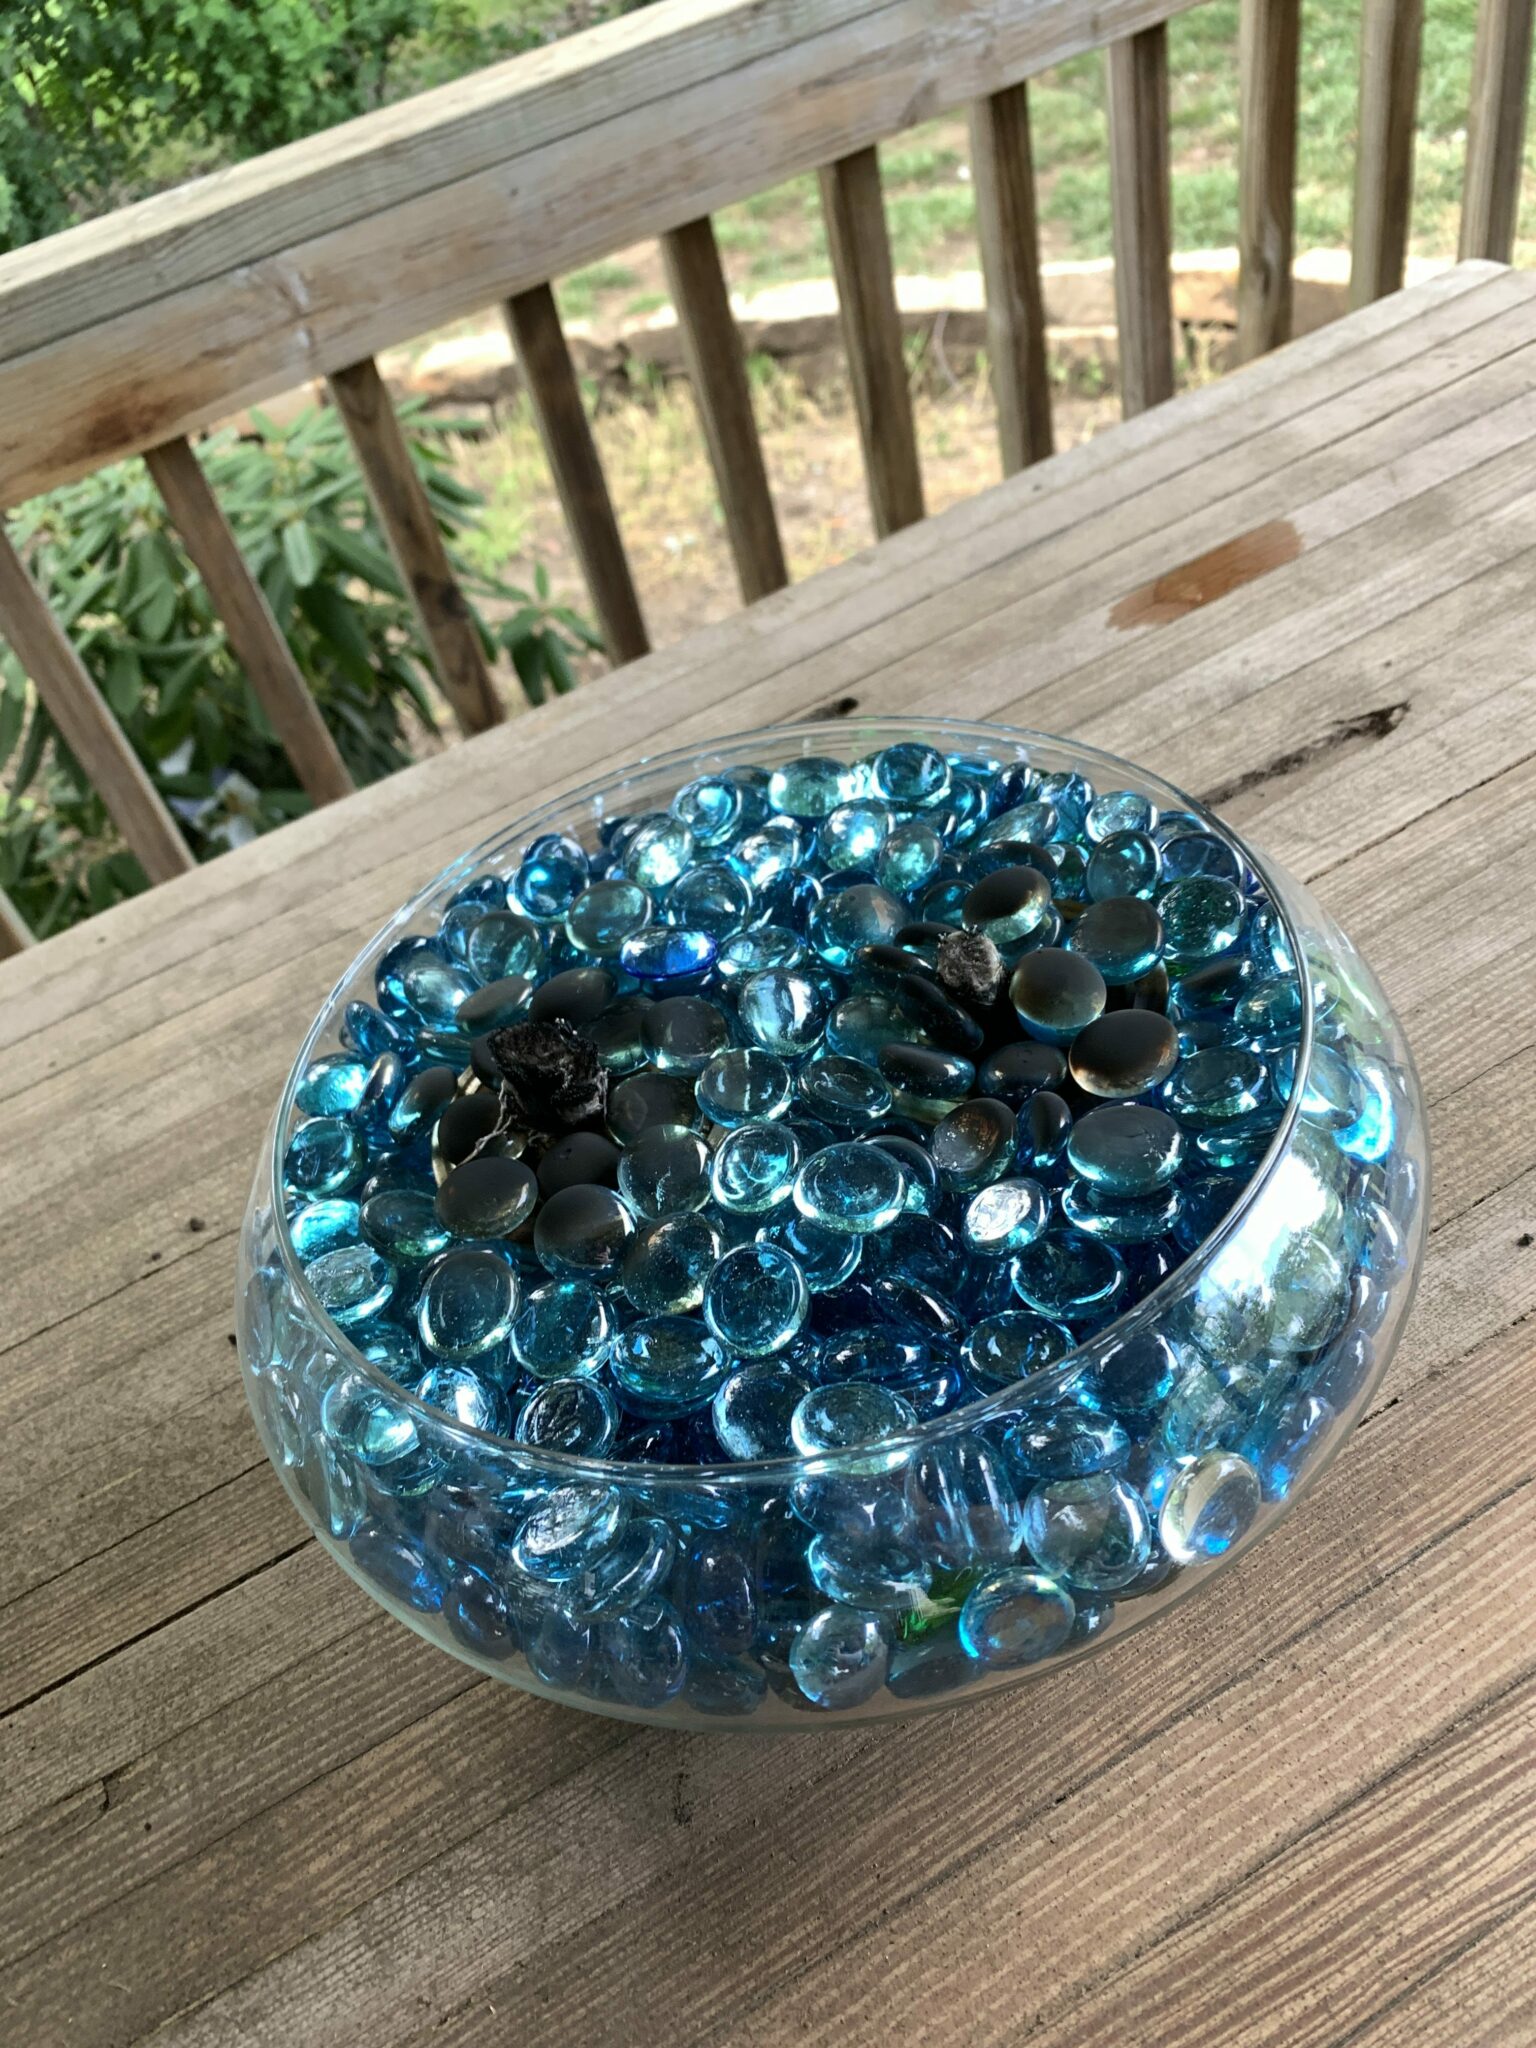
If you use a 4 oz. jar and fill the entire jar with fuel, it will burn for about an hour. Some of the fire safe glass beads may have soot on them, but they can easily be rinsed off with water. The dark soot spots are due to the mason jar lid. I’ve actually thought about pouring a little water in the bowl thinking it would help with the soot. However, if you use lava glass, you won’t have to deal with soot.

